Trees
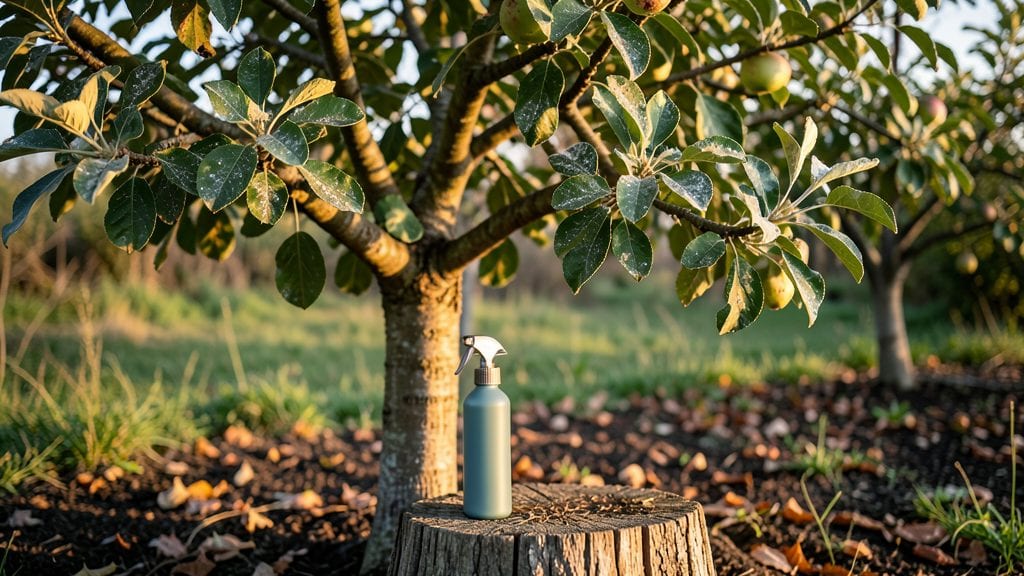
When fungal blight threatens your trees, the right antifungal treatment can save them—before the damage becomes permanent. 🌳 I’ve seen oak trees lose entire branches to canker and fruit trees defoliate overnight from powdery mildew, but early action changes everything.
The key isn’t just spraying; it’s understanding which fungus you’re fighting and how to starve it out before it spreads.
The good news? You don’t need a chemistry degree to tackle this. A foolproof three-step approach—cleaning, treating, and preventing—works for common issues like root rot, leaf spot, and even stubborn canker. Organic options like neem oil or copper fungicide handle mild cases, while severe infections might need targeted chemical solutions.
The goal? Stop the spread within 7-14 days of first signs, before the tree’s health spirals.
By the end, your trees will look like they’ve just had a spa day: leaves vibrant, bark intact, and roots thriving. You’ll spot the difference in new growth—faster recovery, fewer fallen leaves, and that stubborn resilience trees have when they’re healthy.
And the best part? These steps work for oaks, maples, fruit trees, and even young saplings.
Whether you’re dealing with a single infected branch or a whole grove, the timing and technique matter most. Let’s get your trees back to their best before the next rainstorm turns into a fungal feast.
📚 In This Guide
- What you need
- Instructions
- Tips and common mistakes
- Wrapping up and next steps
What you need
- ● Antifungal treatment: Copper-based fungicide (e.g., Copper Sulfate or Copper Hydroxide) – 1-2 lbs per 100 gallons of water (or follow label instructions).
- ● OR a pre-mixed organic antifungal spray (e.g., Neem Oil or Baking Soda Solution – 1 tbsp baking soda + 1 tsp dish soap per gallon of water).
- ● Spray equipment: Hose-end sprayer (for large trees) OR
- ● Handheld pump sprayer (for smaller trees or precise application).
- ● Safety gear: Gloves (nitrile or rubber) – 1 pair.
- ● Safety goggles – 1 pair.
- ● Long-sleeved clothing – 1 set (to protect from fungicide exposure).
- ● Cleaning supplies: Garden hose with nozzle – 1 (for rinsing tools/sprayers).
- ● Rag or old towel – 1-2 (for wiping down tools).
- ● Tree care tools: Pruning shears – 1 pair (for removing severely infected branches).
- ● Ladder – 1 (if treating tall trees).
- ● Soil amendments: Compost or organic mulch – 2-3 inches (to improve tree health post-treatment).
- ● Monitoring tools: Magnifying glass – 1 (to inspect fungal spores up close).
- ● Camera or phone – 1 (to document progress before/after treatment).
Step-by-Step instructions for treating fungal blight in trees
Here’s my straightforward approach to stopping fungal blight before it spreads—and saving your trees.
🌿 Step 1: Identify and Remove Infected Areas
Start by examining the tree for signs of fungal blight: dark, irregular spots on leaves, cankers on bark, or powdery growths. Use clean pruning shears to cut out infected branches at least 6 inches below the visible damage—this prevents spores from lingering. I always sterilize my tools with a 10% bleach solution between cuts to avoid cross-contamination.
Remove fallen leaves and debris immediately—they’re breeding grounds for spores. Bag and dispose of infected material in sealed trash, not compost. If the blight is severe, consider removing entire branches rather than just the infected parts. You’ll know you’ve done enough when the tree looks noticeably cleaner and the air around it feels less thick with fungal spores.
💧 Step 2: Apply a Copper-Based Fungicide
Copper fungicides are the gold standard for treating fungal blight because they disrupt the cell membranes of fungal spores. Mix the fungicide according to label instructions—typically 1-2 tablespoons per gallon of water—and apply it thoroughly to both the upper and lower surfaces of leaves, as well as the bark and branches. I use a handheld sprayer for smaller trees and a pump sprayer for larger ones to ensure even coverage.
Timing is critical: apply the fungicide in the early morning or late afternoon to avoid leaf burn from direct sunlight. Reapply every 7-14 days or after heavy rain, as water washes the fungicide away. You’ll see the first signs of improvement within 2-3 weeks if the blight isn’t too advanced.
✂️ Step 3: Strengthen the Tree’s Natural Defenses
Fungal blight thrives when trees are stressed, so focus on improving their overall health. Water deeply at the base of the tree during dry spells—1-2 inches per week—to encourage strong root growth. Avoid overhead watering, which keeps leaves wet and promotes fungal growth. I also apply a layer of 3-4 inches of organic mulch around the base, keeping it 6 inches away from the trunk to prevent rot.
Consider fertilizing with a balanced, slow-release fertilizer in early spring to boost the tree’s immune system. If your tree is particularly weak, a soil test can help identify nutrient deficiencies. Prune the tree to improve air circulation—this reduces humidity around the foliage, making it harder for spores to take hold. Within a season, you should see healthier leaves and fewer signs of blight.
Tips & tricks for effective fungal blight defense in trees
Here's what I've learned from treating fungal blight over the years—these tricks will help you tackle the problem like a pro while keeping things simple.
Precision Pruning: When cutting infected branches in Step 1, make your cuts at a 45-degree angle just outside the branch collar (the swollen area where the branch meets the trunk). This promotes faster healing and prevents future infections. I also recommend using a sharp, clean saw for larger branches to avoid tearing the bark, which can create entry points for more spores. The key is to remove the entire infected area without damaging healthy tissue.
Fungicide Application Technique: For Step 2, don't just spray the visible infected areas—focus on covering the entire canopy, including the undersides of leaves where spores often hide. I've found that adding a surfactant (like a few drops of dish soap) to your fungicide mixture helps it stick better to the leaves. Also, consider using a backpack sprayer for large trees to ensure even coverage without missing spots. The goal is to create a protective barrier that prevents spores from taking hold.
Timing is Everything: The 7-14 day reapplication schedule in Step 2 works best when you stick to it religiously. I've seen cases where people only reapply after rain, but if your area has frequent light showers, you might need to check coverage more often. Pro tip: mark your calendar or set phone reminders—consistency is what makes this treatment effective. Also, avoid applying fungicide when rain is forecasted within 24 hours, as it will wash away before it can work.
Root Health Boost: In Step 3, when applying mulch, focus on creating a donut shape around the tree—thicker at the edges and tapering off near the trunk. This encourages water to flow outward rather than pooling against the bark. For extra protection, consider adding mycorrhizal fungi to your mulch mix—these beneficial fungi form symbiotic relationships with tree roots, enhancing their natural defenses against pathogens. It's an optional but powerful upgrade for stressed trees.
Pro Tips for Antifungal For Trees
- Here's what I've learned from treating fungal blight over the years—these tricks will help you tackle the problem like a pro while keeping things simple.
- Precision Pruning: When cutting infected branches in Step 1, make your cuts at a 45-degree angle just outside the branch collar (the swollen area where the branch meets the trunk).
- Fungicide Application Technique: For Step 2, don't just spray the visible infected areas—focus on covering the entire canopy, including the undersides of leaves where spores often hide.
Frequently asked questions
Got questions about antifungal treatments for your trees? You’re not alone!
Here are answers to the most common concerns—from timing to troubleshooting—so you can tackle fungal blight like a pro.
When is the best time to apply antifungal treatments to trees?
The ideal time is early spring (before buds break) or late fall (after leaf drop) to prevent fungal spores from settling. If your tree shows signs of infection (like discolored leaves or oozing bark), treat immediately—but avoid applying antifungals when rain is forecasted within 24 hours for best absorption.
Can I use over-the-counter antifungal sprays (like those for plants) on trees?
Some copper-based or neem oil sprays are safe for trees, but always check the label for tree-specific formulations. Avoid fungicides designed for lawns or vegetables—they may harm tree bark or roots. For large trees, professional-grade treatments (like Bordeaux mixture) often work better.
How often should I reapply antifungal treatments?
Most antifungal sprays require 2–3 applications per season, spaced 2–4 weeks apart. If your tree is in a high-risk area (shady, humid, or near water sources), monthly preventative sprays may be needed. Always follow the product’s reapplication guidelines for best results.
My tree’s leaves are yellowing and falling off—could it still be fungal?
Yellowing leaves can signal fungal blight, root rot, or even nutrient deficiency. Check for other symptoms: dark spots, powdery mildew, or sticky residue (aphids). If the issue is fungal, act fast—prune infected branches first, then apply antifungal treatment. If unsure, consult a local arborist for a diagnosis.
Will antifungal treatments harm beneficial insects like bees or butterflies?
Most tree-safe antifungals (like copper fungicides) are low-risk to pollinators if applied early in the morning or late evening when bees are less active. Avoid systemic fungicides (absorbed into the tree’s sap) near flowering trees. For extra safety, spot-treat only infected areas instead of blanket-spraying.
Wrapping up and next steps
Protecting your trees from fungal blight doesn’t have to be overwhelming—with the right antifungal treatments and proactive care, you can keep your greenery thriving! 🌳 From copper-based sprays to organic solutions like neem oil, there’s a method suited for every tree type and concern.
Remember, early action is key, so don’t wait until damage is visible to step in.
Ready to take the next step? Start by inspecting your trees today—look for signs like discolored leaves, moldy spots, or unusual growth. If you spot trouble, grab your supplies and follow the steps outlined above. Your trees (and future shade!) will thank you!