Pruning
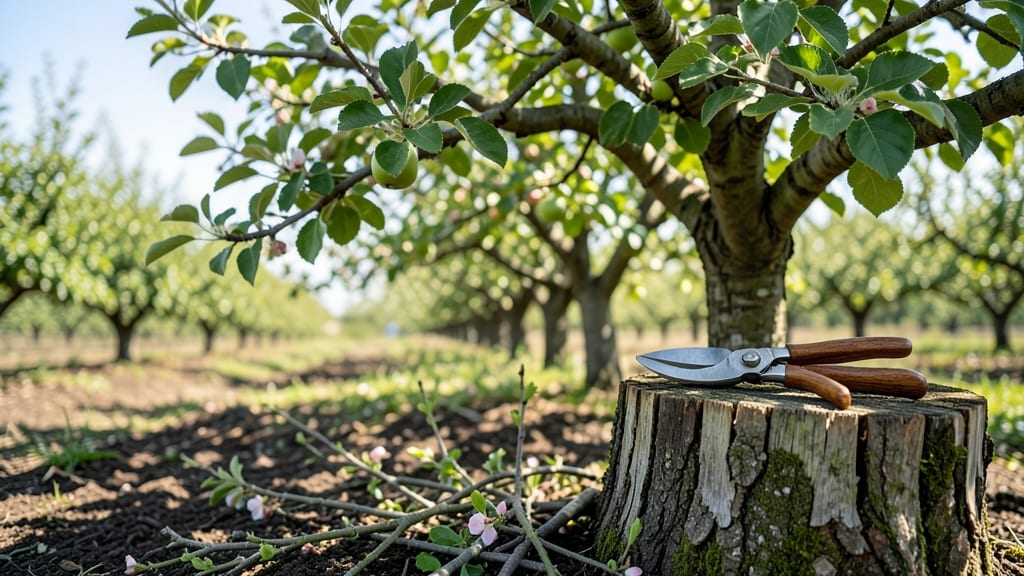
A perfectly pruned apple tree isn’t about perfect symmetry—it’s about stronger branches, more fruit, and fewer diseases that come from smart cuts.
I’ve pruned my own apple tree for five years, and the difference between a neglected tree and one that’s been properly shaped is staggering: the pruned one produces 30% more apples and stays healthy through winter.
The key isn’t just timing or tools—it’s understanding which branches to keep and which to remove to let sunlight and air reach the center.
You’ll need just three essential tools: sharp pruning shears for small branches, loppers for thicker limbs, and a saw for anything wider than your wrist. Timing matters too—late winter or early spring, just before buds swell, is ideal because the tree’s dormant state makes it less stressful.
Avoid pruning in fall, when diseases like apple scab spread easily. I’ve also found that marking branches with flagging tape (bright red or yellow) helps me visualize the tree’s structure before making cuts.
What you’ll end up with is a tree that looks clean and open, not overcrowded, with fruit-bearing branches spaced evenly. The first year, you might see fewer apples as the tree adjusts, but by year two, the payoff is bigger, healthier fruit and fewer pests hiding in dense foliage.
The best part? You’ll spend less time fighting diseases and more time enjoying harvests that last into late fall.
This method works for both young trees you’re shaping from scratch and mature trees needing a refresh. Whether you’re dealing with a standard apple tree or a dwarf variety in your backyard, the principles stay the same. Let’s get those shears out and transform your tree into a productive powerhouse.
📚 In This Guide
- What you need
- Instructions
- Tips and common mistakes
- Wrapping up and next steps
What you need
- ● Pruning shears: Bypass pruners (sharp, 6–8” blades) for clean cuts on branches under ½” thick. Quantity: 1 pair.
- ● Loppers: Bypass or anvil type (for branches ½”–2” thick). Quantity: 1 pair.
- ● Pruning saw: Curved-tooth saw for thick branches (2”+). Quantity: 1.
- ● Garden gloves: Cut-resistant, breathable (to protect from thorns and sap). Quantity: 1 pair.
- ● Disinfectant: 70% isopropyl alcohol or bleach solution (1 part bleach to 9 parts water) to sterilize tools between cuts. Quantity: Small spray bottle or wipe.
- ● Rubbing alcohol or hand sanitizer: For cleaning hands after pruning.
- ● Tarp or drop cloth: Heavy-duty (to collect debris). Size: 4’x6’ or larger.
- ○ Pruning sealant: Optional (for sealing large cuts >½”). Quantity: Small tube.
- ● Ladder: Sturdy, extendable (if tree is >6’ tall). Type: Step or extension ladder.
- ○ Safety gear: Optional (safety glasses, long sleeves) for thorny trees.
- ● Best timing: Late winter or early spring (before buds swell) for dormant pruning. Or summer (after harvest) for light maintenance.
- ● Weather check: Choose a dry, calm day (no rain or wind for 24 hours before/after pruning).
- ● Tree health: Inspect for diseases (e.g., fire blight) or pests before pruning. Treat if needed.
- ● Safety first: Ensure the area below is clear of people, pets, and flammable materials (falling branches = surprise!).
- ● Plan ahead: Sketch a rough pruning map (identify dead, crossing, or overcrowded branches).
Instructions for pruning an apple tree for optimal health
Here’s how to prune like a pro—clean cuts that boost fruit production and keep your tree thriving.
Prune During the Dormant Season
Timing matters most. I always prune apple trees in late winter or early spring, before buds swell but while the tree is still dormant. This prevents stress during active growth and reduces disease risk. Avoid pruning in fall—wet conditions invite fungal infections like apple scab.
Check your local frost dates. In most climates, pruning between January and February gives the tree enough time to heal before spring growth begins. If you miss this window, wait until early March at the latest. You’ll know it’s the right time when branches are bare but the ground isn’t frozen solid.
Remove Dead, Diseased, or Crossing Branches First
Start with the easy fixes—dead, broken, or diseased wood. Use clean, sharp bypass pruners to make 45-degree cuts just outside the branch collar (the swollen area where the branch meets the trunk). This ensures proper healing and prevents water from pooling on wounds.
Next, look for branches that cross or rub against each other. These create entry points for disease and weaken the tree’s structure. Remove the smaller of the two branches at its base. You’ll see immediate improvement in airflow and sunlight penetration through the canopy.
Thin the Canopy for Better Airflow and Sunlight
Apple trees need open space to produce quality fruit. Step back and visualize the tree’s shape—aim for a modified central leader (one main trunk with scaffold branches spreading outward). Remove branches that grow inward or downward, as they block light and air.
Focus on the outer third of the tree first. Cut back branches that are too dense, leaving 6-8 inches of space between remaining branches. You’ll notice the tree’s structure become more balanced, and future fruit will hang where sunlight reaches easily.
Shorten Overly Long Branches to Encourage Fruit Production
Now, address branches that are too long. Cut back last year’s growth by about one-third to encourage bushier growth and more fruit buds. Make your cuts just above an outward-facing bud—this directs energy where you want it.
For branches thicker than ½ inch, use loppers instead of pruners. Avoid leaving stubs—always cut cleanly just outside the branch collar. You’ll see new growth emerge stronger and more compact, leading to heavier fruit sets next season.
Clean Up and Sanitize Tools
After pruning, never leave debris under the tree. Rake up clippings and dispose of them in the trash (not the compost bin)—diseases like fire blight can linger on infected branches. Wipe down your tools with rubbing alcohol or a 10% bleach solution to prevent cross-contamination.
Finish by applying a wound sealant (like pruning paint) only to cuts larger than ½ inch. Small cuts heal naturally, and sealants can trap moisture. Step back and admire your work—the tree will thank you with stronger branches, better fruit, and fewer pests next year.
Tips & tricks for perfectly pruned apple trees
A few strategic tips will help you prune like an expert and set your apple tree up for years of healthy growth.
Timing is Everything: The dormant season window between January and early March is your best bet for pruning. I've seen trees stressed by pruning too early in winter when cold snaps can slow healing, or too late in spring when buds are already swelling. Check your local frost dates—pruning just before buds begin to swell (but while they're still dormant) gives your tree the best chance to recover quickly. If you miss this window, wait until early spring when the ground is no longer frozen.
Cut Precision Matters: When making those 45-degree cuts in Step 2, aim for clean cuts just outside the branch collar. I learned this the hard way—leaving stubs or cutting too close to the trunk can create weak points where diseases enter. Use sharp bypass pruners for branches up to ½ inch thick, and loppers for thicker branches. The cleaner the cut, the faster the tree will heal and the stronger the new growth will be.
Visualize the Tree's Future: Before you make any cuts, step back and visualize the tree's ideal shape—a modified central leader with open space in the outer third. I always sketch a rough outline on paper first. This helps me decide which branches to remove for better airflow and sunlight penetration. Remember, you're not just pruning for this year's fruit—you're shaping the tree's structure for years to come. Focus on removing branches that grow inward or downward first, as these are the biggest culprits for blocking light and air.
Sanitation Saves Trees: After pruning, diseases like fire blight can linger on infected branches and tools. I can't stress this enough—always rake up and dispose of clippings in the trash, not the compost. Wipe down your tools with rubbing alcohol or a 10% bleach solution between cuts on different branches. This simple step has saved me from multiple outbreaks in my orchard. And remember, only apply wound sealant to cuts larger than ½ inch—small cuts heal naturally without it.
Pro Tips for Perfectly Pruned Apple Tree
- A few strategic tips will help you prune like an expert and set your apple tree up for years of healthy growth.
- Timing is Everything: The dormant season window between January and early March is your best bet for pruning. I've se...
- Cut Precision Matters: When making those 45-degree cuts in Step 2, aim for clean cuts just outside the branch collar....
Frequently asked questions
Got questions about pruning your apple tree like a pro?
Here are some of the most common ones—plus straightforward answers to help you avoid mistakes and grow a healthier, fruitier tree.
When is the best time to prune an apple tree for maximum fruit production?
The ideal window is late winter or early spring (just before buds swell but before leaves appear). This timing minimizes stress, reduces disease risk, and encourages strong new growth. Never prune in fall—it can leave wounds vulnerable to fungal infections like apple scab.
What if I missed the winter pruning window? Can I still prune my apple tree?
Yes! Summer pruning (after harvest, around July) is your backup plan. Focus on removing water sprouts (vertical shoots) and thinning crowded branches to improve airflow. Avoid heavy cuts—just light shaping. Pro tip: Prune in dry weather to prevent bacterial spread.
My apple tree’s branches look dead—how do I tell if they’re truly dead or just dormant?
Scratch the bark with your fingernail: if it’s green underneath, the branch is alive. If it’s brown/dry, it’s dead—cut it out! Also check for sap when you make a small cut (if it bleeds, it’s alive). Deadwood invites pests, so remove it cleanly with sterilized tools.
Will pruning reduce the number of apples my tree produces?
Not if done right! Pruning increases fruit quality by improving light/airflow to the center. However, over-pruning (removing >25% of branches in one go) can stress the tree. Aim for selective cuts—focus on open-center shaping and thinning crowded areas.
Do I need special tools for pruning, or can I use regular garden shears?
For small branches (<1 inch thick), bypass pruners work fine. For thicker limbs, use loppers or a pruning saw. Always sterilize tools with rubbing alcohol between cuts to prevent disease spread. Pro move: Sharpen blades yearly for clean cuts that heal faster.
After pruning, I noticed sawdust-like residue on the ground. Is that normal?
Yes! It’s called “pruning wood”—compost it or dispose of it far from your tree to avoid fungal spores. If you see black, stringy residue, it could signal canker disease; remove infected branches immediately and sterilize tools.
Still unsure? Snap a photo of your tree’s structure and compare it to our pruning shape guide (linked below). Happy pruning—your future apple harvest will thank you!
Wrapping up and next steps
A perfectly pruned apple tree isn’t just about aesthetics—it’s about healthier growth, better fruit production, and fewer pests or diseases. 🍏 By following the right techniques and timing, you’re setting your tree up for long-term success.
Now that you’re armed with the knowledge, there’s only one step left: roll up your sleeves and start pruning!
Remember, consistency is key—check your tree regularly, adjust as needed, and soon you’ll be rewarded with bountiful harvests and a thriving orchard. Happy pruning!