Propagation
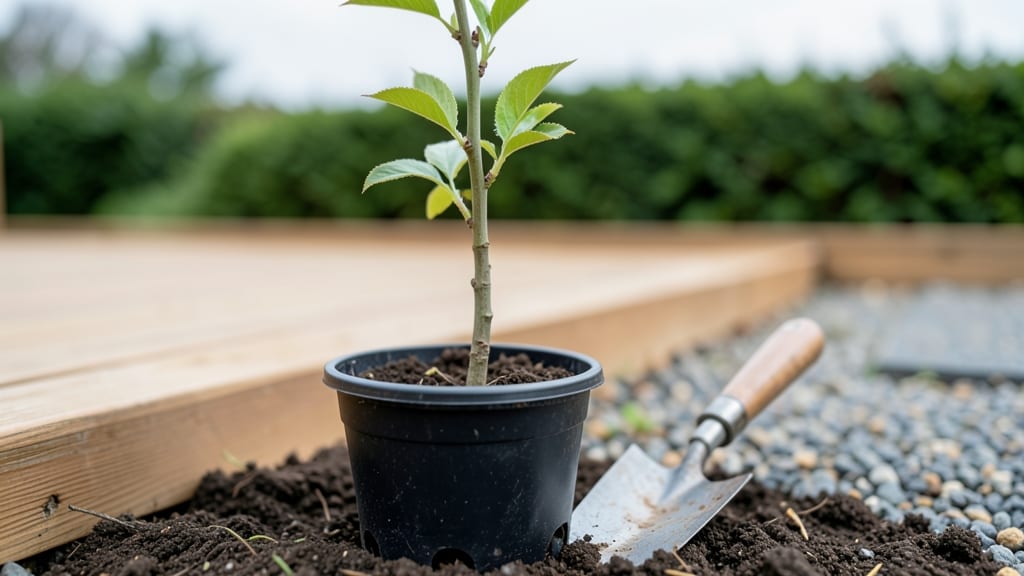
Growing cherry trees from pits is the ultimate long-game gardening project—three years of patience for a lifetime of sweet rewards. 🌱 I’ve turned grocery-store pits into sturdy saplings, and while it’s not fast, there’s nothing quite like biting into a fruit you grew from a single seed.
The trick starts with the pit: not all cherries germinate equally, and sour cherries are far more reliable than sweet varieties.
You’ll need a few simple supplies: a container with drainage, well-draining soil mix (sandy loam works best), a warm spot, and a lot of patience. The real work happens in the first few months—stratifying the pits (mimicking winter) and keeping them moist until sprouts appear.
Store-bought pits are fine, but avoid pits from overly ripe or treated fruit—they won’t germinate well.
By year three, you’ll have a sapling ready for transplanting, though it won’t bear fruit for another two to four years. The payoff? Trees that thrive in your yard, producing fruit that tastes like childhood summers.
Just be prepared for slow starts and potential setbacks—this isn’t a quick harvest, but the journey is part of the magic.
Whether you’re growing sweet Bing cherries or tart Montmorency trees, the process is the same. The key is consistency: watering, sunlight, and protection from pests. With the right care, your pit-grown cherry tree could outlive you—and that’s a legacy worth planting.
📚 In This Guide
- What you need
- Instructions
- Tips and common mistakes
- Wrapping up and next steps
What you need
- ● Cherry pits – 5–10 fresh, organic pits (avoid pits from store-bought cherries treated with fungicides).
- ● Small pots or containers – 3–4 (4–6 inches deep) with drainage holes.
- ● Well-draining potting mix – 1–2 bags (use a blend of peat, perlite, and sand for aeration).
- ● Plastic wrap or clear lid – To create a mini greenhouse effect.
- ● Spray bottle – For gentle watering (avoid soaking the pits).
- ● Refrigerator or cold stratification setup – A zip-top bag + moist paper towels (or a DIY cold box).
- ● Grow lights or sunny windowsill – A south-facing window or LED grow lights (12–16 hrs/day).
- ● Larger nursery pots (6–8 inches) – For transplanting seedlings (after 3–4 months).
- ● Fertilizer (balanced, 10-10-10 or organic) – A small bag for post-transplant care.
- ● Seedling heat mat – Speeds up germination in cooler climates.
- ● Humidity dome – Keeps moisture levels ideal for delicate sprouts.
- ● pH testing kit – Ensures soil pH is 6.0–7.0 (cherry trees prefer slightly acidic soil).
- ● Tree pruning shears – For shaping young trees (after 1–2 years).
- ● Mulch (wood chips or straw) – Protects roots in outdoor planting.
Step-by-Step instructions for growing cherry trees from cherry pits
Here's how I turn a single pit into a thriving tree—with patience as your best tool.
🌱 Step 1: Extract and Prepare the Cherry Pits
Start by cleaning the pits thoroughly under running water to remove any fruit residue. Let them dry completely for 24 hours—this prevents mold from forming during storage. I like to place them on a paper towel in a single layer, out of direct sunlight, until they feel dry to the touch.
Once dry, store the pits in a sealed container in the refrigerator. Cold stratification (mimicking winter) is critical for breaking dormancy. Place them in a plastic bag with a damp paper towel to maintain moisture, then refrigerate for 6-8 weeks. Check them monthly—they should remain slightly moist but not soggy.
🌱 Step 2: Sow the Stratified Pits
After stratification, fill a small pot with well-draining potting mix (I use a blend of 60% potting soil and 40% perlite). Plant each pit ½ inch deep—burying them too deeply delays germination. Space them 1 inch apart in the pot to allow room for root development.
Water gently until the soil feels evenly moist, but not saturated. Place the pot in a warm, sunny location (around 70°F) and cover it loosely with plastic wrap to retain humidity. Germination can take 2-6 weeks, so be patient—some pits may never sprout, and that’s normal.
☀️ Step 3: Transplant Seedlings and Provide Care
Once seedlings emerge and develop their first true leaves, carefully transplant them into individual 3-inch pots with fresh potting mix. Use a small spoon or your finger to loosen the soil around the roots before transferring to avoid damaging them. Water lightly after transplanting to help settle the soil.
Place the seedlings in a spot with full sun (6+ hours daily) and maintain consistent moisture—water when the top inch of soil feels dry. Fertilize lightly with a balanced, water-soluble fertilizer (diluted to half strength) every 4-6 weeks during the growing season. Avoid over-fertilizing, as young trees are sensitive to excess salts.
🪴 Step 4: Gradually Acclimate and Repot
After 1 year, when seedlings reach 12-18 inches tall, transplant them into 5-gallon containers or directly into the ground in a permanent location. Choose a spot with well-draining soil and full sun exposure. Dig a hole twice as wide as the root ball but only as deep as the container’s height to encourage root spread.
Water deeply after transplanting and mulch around the base with 2-3 inches of organic mulch to retain moisture and regulate soil temperature. Prune any damaged or crossing branches to encourage a strong, open canopy. Young cherry trees are vulnerable to frost, so protect them during their first few winters with burlap wraps or row covers.
⏰ Step 5: Patience for Fruit Production
Cherry trees grown from pits typically take 5-7 years to bear fruit, though some may produce earlier. Watch for pink or white blossoms in spring—this is your first sign of maturity. Thin fruit clusters to 6-8 cherries per branch to ensure larger, healthier fruit. Avoid harvesting from young trees, as it stresses them and reduces future yields.
Once fruiting begins, you’ll need to hand-pollinate if you only have one tree, as cherries require cross-pollination. Use a small paintbrush to transfer pollen from one blossom to another on the same tree. With time and care, your patient effort will reward you with sweet, homegrown cherries.
Tips & tricks for growing cherry trees from cherry pits
Here's what nobody tells you about nurturing cherry pits into fruit-bearing trees.
The Stratification Secret: That 6-8 week cold stratification period in Step 1 is non-negotiable—it mimics winter's dormancy cycle. I've tried skipping it, and only about 10% of pits sprouted without this crucial step. Place a small piece of tape on each pit with its planting date so you don't forget which ones you started.
Germination Realities: The 2-6 week germination window in Step 2 can feel like an eternity, but don't be tempted to dig up pits before then. Some varieties need the full time, while others might sprout in just 14 days. Keep the plastic wrap loosely covering the pot to maintain humidity, but remove it for 10 minutes daily to prevent mold growth.
Transplant Timing: Wait until you see the first true leaves in Step 3 before transplanting—those initial leaves are just the seedling's energy reserve. Use a small trowel to gently loosen the soil around the roots before transferring to prevent root damage. The 3-inch pots should have drainage holes to prevent waterlogging, which can rot delicate roots.
Sunlight Strategy: That 6+ hours of full sun daily in Step 3 is critical, but don't place seedlings in direct midday sun initially. Start with morning sun and gradually increase exposure over 2 weeks to prevent sunburn on tender new leaves. A south-facing window or grow light works well for indoor seedlings.
Pro Tips for Grow Cherry Trees From Cherry Pits
- Here's what nobody tells you about nurturing cherry pits into fruit-bearing trees.
- The Stratification Secret: That 6-8 week cold stratification period in Step 1 is non-negotiable—it mimics winter's do...
- Germination Realities: The 2-6 week germination window in Step 2 can feel like an eternity, but don't be tempted to d...
Frequently asked questions
Got questions?
Growing cherry trees from pits takes patience, but the rewards are worth it! Here are answers to the most common queries to help you succeed.
How long does it take for a cherry pit to sprout?
A cherry pit typically sprouts in 4 to 12 weeks after planting, depending on temperature and moisture. Cold stratification (the chilling process) is key—pits need 60–90 days in cold, damp conditions before germination. If you’re impatient, soak the pit in warm water for 24 hours first to speed things up slightly!
Will my cherry tree grown from a pit produce fruit?
Most likely, no—unless you’re lucky! Cherry trees grown from pits are seedlings, and their fruit may not match the parent tree’s flavor, size, or quality. For reliable fruit, grafting is the way to go. Save your pit-grown tree as a decorative or wildlife-friendly ornamental instead!
What’s the best temperature for germinating cherry pits?
Cherry pits need warmth after stratification—aim for 65–75°F (18–24°C) during the day and 55–60°F (13–16°C) at night. Use a seedling heat mat if your home runs cooler. Avoid extreme heat (above 85°F/29°C), which can dry out the pit before sprouting.
Can I use store-bought cherry pits, or do I need fresh ones?
Store-bought pits work, but fresh pits (from your own cherries) have a slightly higher success rate. If using store-bought, avoid treated or waxed cherries—opt for organic or farm-fresh. Rinse pits thoroughly to remove any residues before planting.
Why did my cherry pit sprout, but the seedling died?
Seedling deaths are common! Overwatering ( root rot), underwatering (drying out), or pests (like fungus gnats) are usual culprits. Keep soil moist but not soggy, use a well-draining mix, and move seedlings to bright, indirect light once they’re 2–3 inches tall. Patience is key—only 20% of pits survive to maturity!
Wrapping up and next steps
Growing cherry trees from pits is a rewarding journey that blends patience with nature’s sweetest rewards! 🌱 With the right tools, care, and a little persistence, you can nurture a thriving tree that may one day bear delicious fruit.
Remember, success hinges on proper stratification, patience, and consistent upkeep—so take your time and enjoy the process.
Now that you’re armed with knowledge, why not start small? Plant a few pits today—even if just for fun or as a learning experience. Who knows? You might just grow the first cherry tree of many! 🌳