
Watering
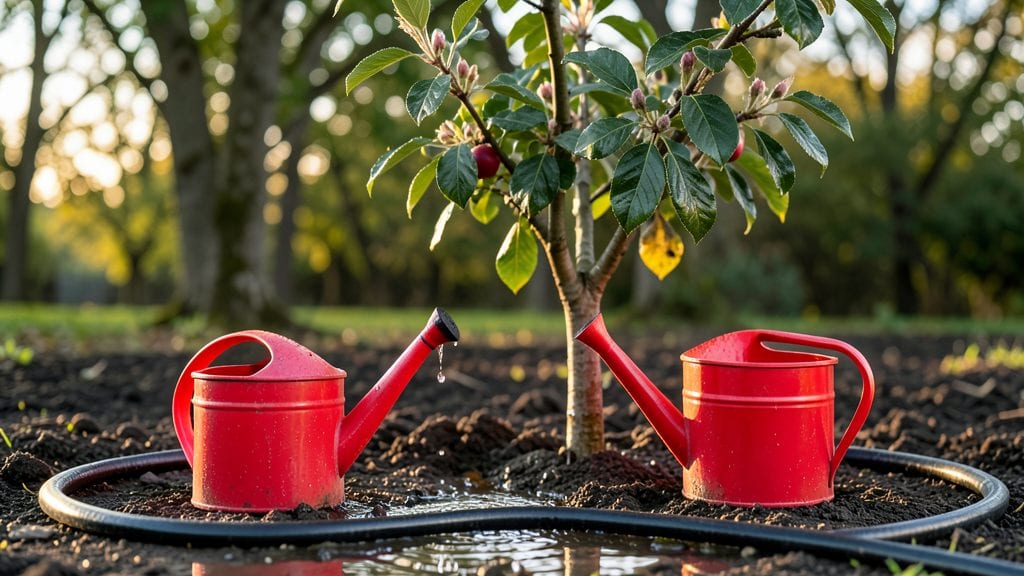
If your cherry tree’s leaves turn yellow and droop from too much water, overwatering—and the root rot it invites—may already be the problem. 🌱 I’ve nursed back more than one waterlogged cherry tree, and the key is acting fast before the roots suffocate.
The good news? You don’t need fancy tools or a green thumb to turn things around.
Start by checking the soil: if it’s soggy more than an inch below the surface, you’ve been overdoing it. Cherry trees need well-draining soil and hate sitting in water—even in winter.
The first step is cutting back on watering immediately, but that’s just the beginning. You’ll also need to improve drainage and prune any damaged branches to help the tree recover.
Within 2-4 weeks, you’ll see leaves perking up again if the roots aren’t beyond saving. The secret is balance: water deeply but infrequently, and always ensure excess water drains away. Mulch helps, but too much can trap moisture—so keep it 2-3 inches thick and away from the trunk.
Prevention is easier than rescue: test your soil’s drainage, water only when the top 2 inches are dry, and avoid heavy clay soils. With these adjustments, your cherry tree can bounce back—and you’ll never drown it again.
📚 In This Guide
- What you need
- Instructions
- Tips and common mistakes
- Wrapping up and next steps
What you need
- ● Gloves (1 pair) – Waterproof or heavy-duty gloves to protect your hands from soil and moisture.
- ● Trowel or small shovel (1) – A sturdy, sharp-edged tool (8–12 inches long) for gently prying up soil and inspecting roots.
- ● Pruning shears (1 pair) – Clean, sharp shears to trim away only the most severely rotted roots (sterilize with rubbing alcohol first!).
- ● Bucket (5-gallon capacity) – For mixing solutions or collecting excess water.
- ● Hose with adjustable nozzle or watering can (1) – A gentle spray setting helps avoid disturbing the soil further.
- ● Fungicide (1 bottle, copper-based or systemic) – Look for a root rot-specific formula (e.g., Serenade Garden or BioSafe Copper Fungicide). Follow label instructions for dilution.
- ○ Perlite or coarse sand (1–2 lbs) – Improves drainage around the root zone (optional but highly recommended).
- ● Mulch (2–3 bags, 2–3 cubic feet each) – Use pine bark or straw (avoid organic mulch like wood chips, which can trap moisture).
- ○ pH test kit (optional but helpful) – Ensures soil pH is between 6.0–7.0 (root rot thrives in acidic conditions).
- ● Root stimulator (e.g., Mycorrhizal fungi or Seaweed extract) – Boosts root recovery post-treatment.
- ● Drip irrigation system (DIY or pre-made) – Prevents future overwatering by delivering precise, slow moisture.
- ● Soil moisture meter (1) – Avoids guesswork—insert into the root zone to monitor water levels.
- ● Old newspapers or cardboard – Lay down as a weed barrier before adding mulch.
How to save an overwatered cherry tree before root rot takes hold
Here's how I've revived multiple waterlogged cherry trees—no fancy tools, just smart adjustments.
💧 Step 1: Stop Watering and Assess Soil Moisture Immediately
Turn off any automatic irrigation and let the soil dry out completely. I know it feels counterintuitive after seeing soggy ground, but stopping water is the first critical move. Dig a small hole about 3 inches deep near the trunk—if water drips out or the soil feels cold and mushy, you've got root rot starting.
Use your fingers to test moisture deeper—healthy soil should feel slightly damp but not wet. If the roots smell sour or look dark and mushy, that's your warning sign. Real talk: this step alone gives roots a fighting chance to recover if you catch it early.
✂️ Step 2: Prune Damaged Roots and Improve Drainage
Carefully dig around the outer 8-12 inches of the root zone using a sterilized knife. Snip away any black, slimy, or soft roots with clean pruners—these are dead and spreading rot. Healthy roots should be firm, white to tan, and springy when touched. I always wear gloves for this part because the smell is unmistakable.
After pruning, loosen the compacted soil with your fingers or a fork to improve airflow. Mix in 2-3 inches of coarse sand or perlite (if you have it) to break up clay-heavy soil. This creates drainage channels that prevent future waterlogging. If you don't have amendments, just break up the soil clumps thoroughly—better than nothing.
☀️ Step 3: Adjust Watering and Monitor Recovery
Wait until the top 4-6 inches of soil feel dry before watering again—stick your finger in to check. When you do water, focus on deep, slow soakings that penetrate 12 inches down. A hose with a gentle spray setting or soaker hose works best. I set a timer for 15-20 minutes and let it run until water appears at the drip line.
Watch for new leaf growth as your signal that recovery is working. If the tree sprouts fresh green leaves within 3-4 weeks, you're on the right track. Keep an eye out for wilting or yellowing—these are signs you're either overwatering again or underwatering. Mulch with 2-3 inches of organic mulch (like wood chips) to help regulate moisture levels long-term.
Tips & tricks for saving an overwatered cherry tree
A few simple adjustments can make all the difference when rescuing a waterlogged cherry tree.
Soil Test Timing: In Step 1, when you're checking soil moisture, focus on the 3-inch depth first, but also test deeper—healthy roots should be moist but not saturated. I've seen trees that looked fine at the surface but had rot starting just 6 inches down. Use a clean stick or your finger to probe deeper if the top layer feels damp.
Root Pruning Precision: During Step 2, when pruning roots, aim to remove only the black, mushy ones—healthy roots are firm and tan. Don't be afraid to get your hands dirty (literally) and dig deeper if you see questionable roots. Sterilize your tools between cuts with rubbing alcohol to prevent spreading any potential pathogens. This step is where most people give up, but it's the most critical for recovery.
Watering Technique: For Step 3, that 15-20 minute deep watering is key. I use a soaker hose set to a gentle flow—this lets water penetrate deeply without creating surface runoff. If you don't have a timer, watch for water appearing at the drip line (about 3 feet from the trunk) to know you've watered enough. Overwatering again is the #1 reason rescue attempts fail.
Recovery Signs: Watch for new leaf growth as your best indicator of success. In Step 3, if you see fresh green leaves within 3-4 weeks, you're on the right track. Yellowing leaves mean you're either underwatering or overwatering—check soil moisture again. A healthy tree should have vibrant green leaves without wilting, even during hot weather.
Pro Tips for Cherry Tree Too Much Water
- A few simple adjustments can make all the difference when rescuing a waterlogged cherry tree.
- Soil Test Timing: In Step 1, when you're checking soil moisture, focus on the 3-inch depth first, but also test deeper—healthy roots should be moist but not saturated.
- Root Pruning Precision: During Step 2, when pruning roots, aim to remove only the black, mushy ones—healthy roots are firm and tan.
Frequently asked questions
Got questions about saving your cherry tree from overwatering? You’re not alone!
Here are answers to the most common concerns—plus expert tips to keep your tree thriving without drowning it.
How do I know if my cherry tree has root rot from too much water?
Look for yellowing leaves, mushy brown roots (especially at the base), and a foul smell from the soil. If the bark feels soft or the tree leans weakly, it’s a red flag! Root rot spreads fast, so act quickly—prune affected roots and adjust watering immediately.
Can I save a cherry tree if it’s been overwatered for weeks?
Yes, but time is critical. Stop watering entirely for 2–3 days to dry the soil, then let the top 2–3 inches dry out before watering lightly. If the roots are severely damaged, you may need to trim dead roots and repot (or replant) in well-draining soil. Patience is key—recovery takes weeks!
What’s the best way to water a cherry tree to prevent overwatering?
Water deeply but infrequently: aim for 1–1.5 inches per week (adjust for rain). Use a soaker hose or drip irrigation to deliver water slowly to the root zone. Avoid wetting the leaves to prevent fungal issues. Mulch (2–3 inches) helps retain moisture without suffocating roots.
Should I fertilize a cherry tree after fixing overwatering issues?
Wait 4–6 weeks after adjusting watering to let the tree recover. Once stabilized, use a balanced fertilizer (10-10-10) in early spring. Avoid high-nitrogen fertilizers—they stress roots further. Pro tip: Test soil pH (ideal: 6.0–7.0) before fertilizing for best results!
Does temperature affect how much water a cherry tree needs?
In hot weather, water more frequently but shallowly to cool roots. In cool or rainy seasons, reduce watering—cherry trees hate soggy soil year-round. Morning watering (before 10 AM) minimizes evaporation and fungal risks. Always check soil moisture with your finger before watering!
Wrapping up and next steps
Your cherry tree doesn’t need a dramatic rescue—just a little attention and patience! 🌱 Overwatering can feel overwhelming, but with the right steps, you’ll restore balance and help your tree thrive. Start by trimming back excess water, improving drainage, and monitoring soil moisture like a pro.
Ready to take action? Check your tree’s progress weekly and adjust care as needed. Your green thumb is closer than you think—one step at a time! 💧✨