
Pruning
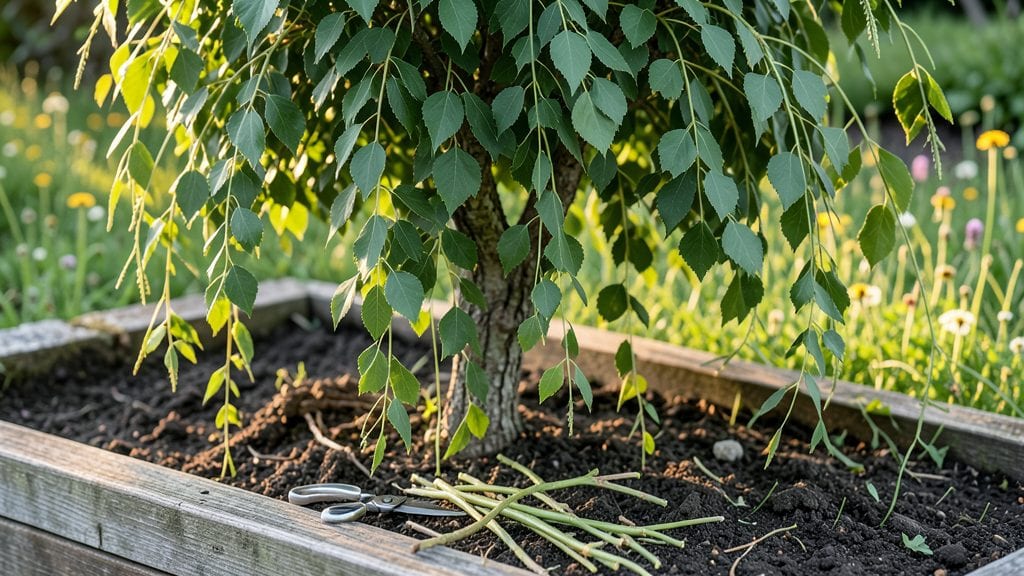
Trimming weeping mulberry trees keeps them lush and manageable—without turning your yard into a tangled mess. 🌿 I’ve learned the hard way that skipping pruning leads to those graceful branches becoming a tangled, unruly pile.
The key is working with their natural droop, not fighting it, and timing cuts to encourage healthy growth year-round.
You’ll need sharp bypass pruners, loppers for thicker branches, and thick gloves to handle the sap—it stains like ink and can irritate skin. Start by removing dead or crossing branches first; these are the easiest cuts and prevent future problems.
The goal is to open the canopy so light reaches the lower branches, keeping the tree’s signature weeping shape intact.
After a few strategic cuts, you’ll see new growth filling in gaps and the branches regaining their elegant drape. The tree rewards patience with dense foliage and fewer pests, plus you avoid the heartbreak of a tree that outgrows its space.
Just avoid heavy pruning in late summer—it stresses the tree before winter.
This method works for both young trees and mature specimens, though older trees may need more gradual shaping. The secret is consistency: a little attention every season keeps the tree looking intentional, not neglected. Ready to transform your weeping mulberry from wild to wonderful?
📚 In This Guide
- What you need
- Instructions
- Tips and common mistakes
- Wrapping up and next steps
What you need
- ● Pruning shears – Bypass pruners (for clean cuts on small branches, 5-8 inch blades).
- ● Loppers – Long-handled (24-36 inch) for thicker branches (½–2 inches in diameter).
- ● Pruning saw – For branches thicker than 2 inches (bow or folding saw with sharp teeth).
- ● Ladder or step stool – Sturdy, non-slip (extendable for tall trees).
- ● Gloves – Heavy-duty, cut-resistant (to protect from thorns and sap).
- ● Disinfectant (70% isopropyl alcohol or bleach solution) – To sterilize tools between cuts (prevents disease spread).
- ● Heavy-duty trash bags or bucket – For collecting pruned branches (10+ gallon capacity).
- ○ Sharpie or pruning sealant – Optional but helpful for marking cuts or sealing large wounds.
- ● Extension pole pruners – For high branches without a ladder.
- ● Safety glasses – To shield eyes from debris.
- ● Tree wound dressing – Only for large cuts (use sparingly; natural healing is often best).
- ● Garden hose or spray bottle – To clean tools and rinse sap.
Step-by-Step guide to pruning weeping mulberry trees
Here’s how I keep these graceful trees looking their best with minimal stress and maximum impact.
✂️ Step 1: Time Your Pruning for Optimal Growth
Prune weeping mulberries in late winter or early spring—just as buds begin to swell but before new growth starts. This timing ensures you remove dead wood while encouraging fresh, vigorous growth. Avoid heavy pruning in fall, as new growth won’t harden off before winter, leaving branches vulnerable to frost damage.
If you must prune outside this window, do light maintenance in summer to remove only water sprouts or damaged branches. Never prune in late summer or fall, as this can stimulate tender growth that won’t survive cold temperatures.
🌿 Step 2: Assess and Remove Dead or Diseased Branches First
Start by examining the tree for dead, broken, or diseased branches. Dead branches are brittle and snap easily when bent—if they break with a dry, hollow sound, they’re ready to go. Use sharp bypass pruners to make clean cuts just outside the branch collar (the swollen area where the branch meets the trunk).
For diseased branches, look for dark streaks, oozing sap, or fungal growth—these need immediate removal. Bag and dispose of infected material to prevent spreading. If you’re unsure, cut back to healthy wood and monitor the tree for new signs of stress.
☀️ Step 3: Thin Out Crowded Branches for Better Airflow
Weeping mulberries naturally grow with long, graceful branches, but over time, they can become dense. Focus on thinning out branches that cross or rub against each other—these create wounds and weaken the tree. Aim to remove no more than 25% of the tree’s foliage in one session to avoid shocking it.
When thinning, cut branches back to their point of origin (the trunk or a larger branch). Avoid leaving stubs—this invites decay. Step back often to check your progress; the goal is to open up the canopy so light and air reach the inner branches.
⏰ Step 4: Shape Gradually to Maintain the Weeping Form
To preserve the tree’s elegant, cascading shape, avoid heavy heading back (cutting the tips of branches). Instead, prune selectively to encourage longer, flowing branches. If a branch grows too upright, trim the top 1-2 inches to redirect growth downward.
Use hand pruners for small branches and a pruning saw for thicker stems over ½ inch. Always make cuts at a 45-degree angle just above an outward-facing bud or branch to promote healthy regrowth. Avoid over-pruning—weeping mulberries respond best to light, strategic cuts.
🪴 Step 5: Clean Up and Protect the Tree Post-Pruning
After pruning, sterilize your tools with rubbing alcohol to prevent spreading disease. Rake up and dispose of all clippings, especially if they show signs of disease. If the tree looks stressed (yellowing leaves or wilting), give it a deep watering to help it recover.
Apply a balanced, slow-release fertilizer around the root zone to support new growth, but avoid heavy applications—mulberries are adaptable and don’t need much extra nourishment. Mulch the base with 2-3 inches of organic mulch to retain moisture and protect roots from temperature swings.
Tips & tricks for pruning weeping mulberry trees
Here's what I learned after years of keeping these stunning trees looking their absolute best without stressing the plant.
Seasonal Timing is Everything: That late winter/early spring window in Step 1 is your golden opportunity—it's when the tree is dormant but about to burst with new growth. I always check for those swollen buds as my cue, and I've found that pruning just as they swell gives me the cleanest results. In summer, only tackle water sprouts or damaged branches—never more. I learned this the hard way after accidentally stimulating tender growth that froze in our last winter.
Branch Health Inspection Trick: For Step 2, here's my pro move: snap a small twig between your fingers. If it breaks with a dry, hollow sound, it's dead and ready for removal. For diseased branches, I've started using a small plastic bag to collect clippings—it's easier to dispose of than a paper bag, and I can tie it shut immediately to prevent spores from spreading. Remember, always cut just outside the branch collar where it meets the trunk.
Thinning Technique for Airflow: When you're thinning in Step 3, step back frequently to visualize the canopy. I aim to create a dome shape that allows sunlight to reach all branches. The 25% foliage rule is critical—I once removed too much and my tree looked shocked for weeks. Also, when cutting branches back to their origin, make sure you're cutting at the branch collar, not leaving a stub. This prevents decay and promotes faster healing.
Shape Maintenance Secret: For Step 4, I've found that a little strategic pruning goes a long way. When redirecting an upright branch, I trim just 1-2 inches off the top—this sends energy downward while maintaining the tree's graceful form. I always make my cuts at a 45-degree angle just above an outward-facing bud. This small detail makes a huge difference in how quickly the tree recovers and grows back in the right direction.
Pro Tips for Trimming Weeping Mulberry Trees
- Here's what I learned after years of keeping these stunning trees looking their absolute best without stressing the plant.
- Seasonal Timing is Everything: That late winter/early spring window in Step 1 is your golden opportunity—it's when the tree is dormant but about to burst with new growth.
- Branch Health Inspection Trick: For Step 2, here's my pro move: snap a small twig between your fingers.
Frequently asked questions
Got questions about keeping your weeping mulberry trees looking their best? You’re not alone! Here are some of the most common concerns—and their straightforward answers—to help you trim with confidence.
When is the best time to trim weeping mulberry trees?
The ideal time to trim is late winter or early spring (just before new growth starts). This promotes healthy blooms and prevents disease. Light pruning can also happen in summer to shape the tree, but avoid heavy cuts then. Pro tip: Never trim in fall—it stresses the tree before winter.
How much can I trim off a weeping mulberry without harming it?
You can safely remove up to 25% of the tree’s foliage in one session. For dramatic shaping, spread pruning over 2-3 years to avoid shocking the tree. Focus on dead, crossing, or overcrowded branches first. Warning: Over-trimming weakens the tree and reduces fruit production.
Will trimming affect the tree’s fruit (mulberries) or wildlife?
Trimming doesn’t stop fruit production, but heavy pruning may reduce yield temporarily. Birds and pollinators rely on mulberries—avoid trimming during peak fruiting season (late spring/summer). Leave some branches untrimmed to support local wildlife. Bonus: Pruned trees often produce larger, sweeter berries!
What should I do if my weeping mulberry looks stressed after trimming?
Stress signs include yellow leaves, wilting, or slow regrowth. If this happens:
- Water deeply (1-2 inches per week).
- Avoid fertilizing for 4-6 weeks.
- Prune less aggressively next time—stick to 10-15% of foliage.
- Monitor for pests (e.g., aphids) if new growth is stunted.
Can I shape a weeping mulberry into a standard tree instead?
Yes! You can train it into a more upright form by:
- Selecting 3-5 strong central branches to keep.
- Pruning lower branches to raise the canopy.
- Using ties or stakes to guide young branches upward.
Wrapping up and next steps
Trimming your weeping mulberry tree doesn’t have to be a daunting task—with the right tools, timing, and techniques, you can maintain its stunning shape year-round while keeping it healthy and thriving! 🌿 Whether you’re pruning for aesthetics, growth control, or disease prevention, consistency is key.
Now that you’re equipped with expert tips and answers to common questions, there’s no better time to roll up your sleeves and get started.
Ready to transform your tree into a lush, well-groomed masterpiece? Pick a calm day, gather your supplies, and begin with confidence! Your future self—and your tree—will thank you.