
Pruning
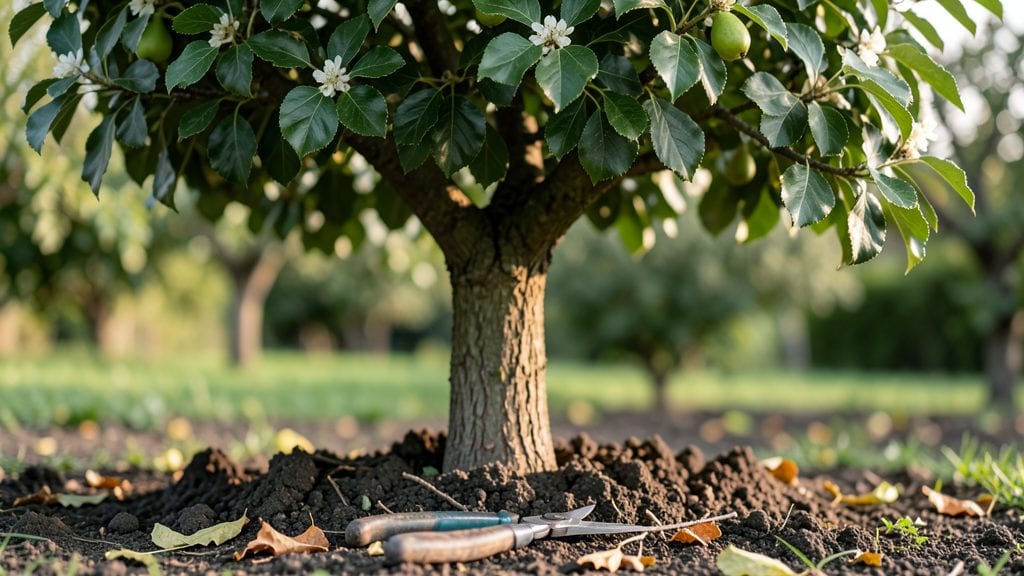
Trimming a pear tree isn't just about shaping—it's the secret to bigger harvests and a tree that lasts decades. 🌳 I've watched my backyard pear tree go from a tangled mess to a productive, sunlit beauty just by following a few key rules.
The right cuts at the right time mean fewer diseases, more fruit, and a tree that's easier to reach.
You only need three basic tools: sharp pruning shears for small branches, loppers for thicker limbs, and a sturdy pruning saw for anything over 2 inches thick. Timing matters too—do most pruning in late winter or early spring before buds swell, and make light cuts in summer if needed.
The goal is to open up the center so sunlight reaches all the fruit.
After your first round, you'll notice thicker branches and fewer crowded spots where pests hide. The tree will start sending energy toward fruit production instead of fighting for light. Just avoid cutting into the trunk or leaving stubs—clean cuts heal faster and look better.
Even experienced gardeners make mistakes, like over-pruning or cutting at the wrong angle. But once you get the hang of it, you'll see why pruning isn't just maintenance—it's an investment in your tree's future. Let's get those branches looking sharp!
📚 In This Guide
- What you need
- Instructions
- Tips and common mistakes
- Wrapping up and next steps
What you need
- ● Pruning shears: Bypass pruners (for cuts up to ¾ inch thick) – sharp, high-quality (e.g., Felco or Fiskars).
- ● Loppers: Bypass or anvil type (for branches ¾ inch to 2 inches thick). Look for long handles (30+ inches) for leverage.
- ● Pruning saw: Curved-tooth saw (for branches over 2 inches thick). A folding or bow saw works best.
- ● Gloves: Heavy-duty, cut-resistant (e.g., Mechanix or leather gardening gloves).
- ● Ladder: Sturdy, extendable (if branches are >6 feet high). Never stand on wobbly or damaged ladders!
- ● Disinfectant: 70% isopropyl alcohol or bleach solution (1 part bleach to 9 parts water) to clean tools between cuts.
- ● Rubbing alcohol or hand sanitizer: For cleaning wounds if sap irritates your skin.
- ○ Tree wound dressing (optional): Pruning sealant (controversial—skip if unsure; research shows it’s often unnecessary for pears).
- ● Work gloves with grip: For extra comfort on long pruning sessions.
- ● Safety glasses: Protect your eyes from flying debris.
- ● Marking spray: Non-toxic paint to tag cuts for future reference.
- ● Knowledge: Familiarize yourself with pear tree anatomy (e.g., central leader vs. open-center growth) and pruning basics (e.g., 3-cut method for large branches).
- ● Timing: Prune at the right season (dormant season for pears—late winter/early spring).
- ● Weather: Choose a dry, calm day to avoid slipping or spreading disease.
- ● Tree health check: Inspect for diseases (e.g., fire blight) or pests before pruning.
How to trim a pear tree for year-round health
Here's the straightforward method I use every season to keep my pear trees thriving.
✂️ Step 1: Time Your Cuts for Maximum Growth
Pears respond best to pruning in late winter or early spring, just as buds begin to swell but before new growth starts. This timing prevents disease spread and gives the tree energy to focus on fruit production. Avoid pruning in fall—it invites fungal infections like silver leaf disease that can linger through winter.
If you must prune outside this window, focus on removing dead or diseased branches immediately. Otherwise, wait until the tree's natural dormancy period. You'll know it's the right time when you see tight buds forming along the branches.
🌿 Step 2: Remove Dead, Diseased, and Crossing Branches First
Start by cutting out any dead wood—branches that are brittle, cracked, or have no leaves. Then remove branches with disease symptoms like black spots, cankers, or oozing sap. Sterilize your pruners between cuts by wiping them with rubbing alcohol to prevent spreading pathogens.
Next, look for branches that cross or rub against each other. These create wounds that invite infection and compete for sunlight. Cut the weaker of the two branches at its base, making the cut just outside the branch collar. You'll see these branches growing in awkward directions, often with narrow angles between them.
☀️ Step 3: Thin the Canopy for Better Airflow and Light
Step back and examine the tree's overall shape. Pears need open air circulation to prevent fungal diseases. Remove about 20% of the total branches, focusing on those growing inward or downward. These branches block sunlight and create a damp, shaded environment where pests thrive.
Make your cuts at a 45-degree angle, just above an outward-facing bud. This encourages new growth to continue the tree's natural shape. Avoid leaving stubs—always cut back to the branch collar. You'll notice thicker branches in the center that need thinning most.
⏰ Step 4: Shape the Tree for Optimal Fruit Production
Pears produce fruit on current season's growth, so you want to encourage strong, outward-facing branches. Prune to create an open-center shape with a main trunk and scaffold branches spaced 12-18 inches apart. This allows sunlight to reach all fruit clusters.
For mature trees, limit branch removal to no more than 25% of the total foliage in one season. Over-pruning stresses the tree and reduces fruit yield. Look for branches with fruit spurs—small, knobby growths where fruit forms—and preserve these areas. You'll see these spurs as small, stubby shoots along the main branches.
🪴 Step 5: Clean Up and Monitor for Recovery
After pruning, rake up and dispose of all clippings—never leave them on the ground. This removes potential disease sources and keeps the area tidy. Apply a copper fungicide spray if your tree has a history of fungal issues, especially before the growing season begins.
Water the tree deeply after pruning to help it recover. You'll see new growth emerging from the buds within 4-6 weeks. Monitor the tree regularly for any signs of stress, like wilting leaves or unusual spots. If you notice any issues, address them immediately before they spread.
Tips & tricks for perfect pear tree pruning
A few key strategies will help you avoid common mistakes and keep your pear tree thriving for years to come.
Timing is Everything: The late winter/early spring window mentioned in Step 1 is absolutely critical. I've learned this the hard way—pruning in fall can actually stress the tree and leave it vulnerable to winter damage. Look for those tight buds forming along the branches as your cue. If you're in a warmer climate where buds swell earlier, adjust accordingly but never prune when there's active growth.
Tool Preparation: Before you even start cutting, sterilize your pruners with rubbing alcohol between each cut, especially when removing diseased branches (Step 2). I keep a small bottle of 70% isopropyl alcohol in my pruning kit. Sharp tools make cleaner cuts that heal faster, so take a moment to sharpen your blades before beginning. Dull tools crush branches instead of making precise cuts.
Visual Cues for Healthy Branches: When thinning the canopy (Step 3), look for branches that grow inward or downward—they're the ones to remove. You'll know you're doing it right when you create an open center that lets sunlight reach all parts of the tree. For the 45-degree angle cuts, imagine slicing the branch like a pie—just above an outward-facing bud. This simple technique encourages new growth in the right direction.
Recovery Monitoring: After pruning, keep an eye out for new growth emerging within 4-6 weeks (Step 5). If you don't see buds swelling after this time, your cuts might have been too severe. Water deeply after pruning to help the tree recover, and consider applying a thin layer of mulch around the base to retain moisture. You'll notice the difference in next year's fruit production when you've done it right.
Pro Tips for Trimming A Pear Tree
- A few key strategies will help you avoid common mistakes and keep your pear tree thriving for years to come.
- Timing is Everything: The late winter/early spring window mentioned in Step 1 is absolutely critical.
- Tool Preparation: Before you even start cutting, sterilize your pruners with rubbing alcohol between each cut, especially when removing diseased branches (Step 2).
Frequently asked questions
Got questions about keeping your pear tree thriving with the right cuts? Here are answers to the most common concerns—so you can trim with confidence!
When is the best time to trim a pear tree?
The ideal time is late winter or early spring (just before buds break) to avoid stressing the tree. For light shaping, summer trimming is fine—but avoid heavy cuts then. Never prune in fall (disease risk!) or during extreme cold.
How much can I trim off without harming the tree?
Remove no more than 25% of the tree’s canopy in a single session. Focus on dead, diseased, or crossing branches first. Over-trimming weakens the tree and reduces fruit production. Think "less is more!"
Will trimming affect my pear harvest?
Yes—but positively! Proper trimming boosts fruit size and quality by improving airflow and sunlight. Just avoid cutting back fruit-bearing branches too aggressively. Aim for 3-4 main scaffold branches for optimal yields.
What if my cuts bleed or ooze?
That’s sap bleeding, normal in early spring! It won’t harm the tree. To minimize it, trim on dry days (not after rain) and use sharp tools. Seal cuts with pruning paint only if the tree is disease-prone (like fire blight).
Can I use hedge trimmers instead of pruning shears?
Not ideal! Hedge trimmers tear bark and create jagged cuts, inviting disease. For pear trees, use bypass pruners (for small branches) or a pruning saw (for thicker limbs). Precision matters!
My branches are dying—what should I do?
First, remove dead/diseased branches completely (cut back to healthy wood). Sterilize tools with rubbing alcohol to prevent spread. If half the tree is affected, consult a local arborist—it could be fire blight or another fungal issue.
Wrapping up and next steps
Trimming your pear tree isn’t just about shaping its branches—it’s a year-round commitment to its health, productivity, and beauty. 🌳 By mastering the when, how, and why of pruning, you’ll reward yourself with abundant fruit, sturdy structure, and a tree that thrives for decades.
Whether you’re a seasoned gardener or a curious beginner, every cut is a step toward a stronger, happier pear tree.
Ready to take the next step? Grab your pruners, mark your calendar for the next pruning season, and observe your tree’s growth closely. Over time, you’ll develop an intuitive sense of what your pear tree needs—because the best pruners are those who listen as much as they trim.
Happy gardening! 🌟