
Trees
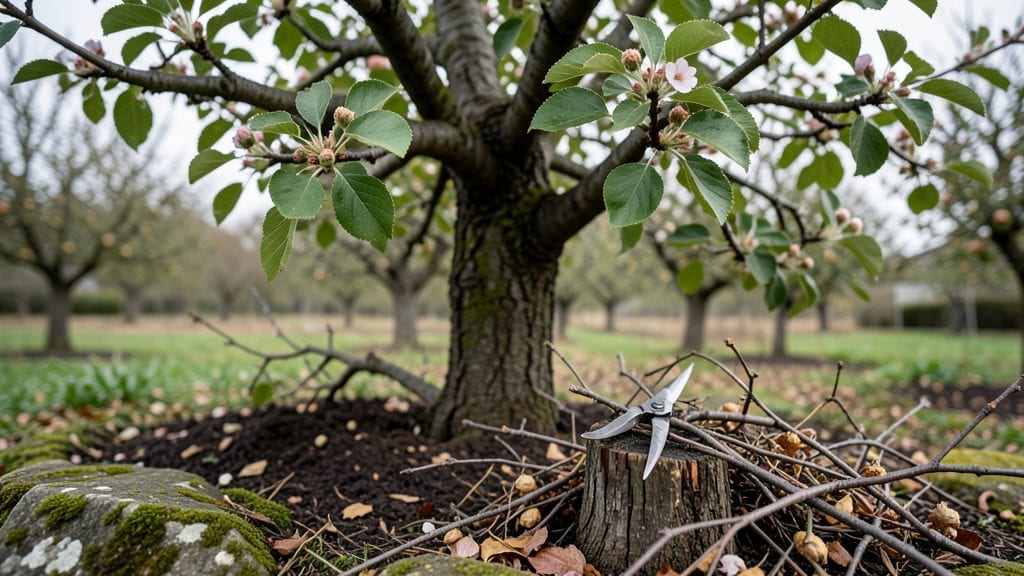
Thinning apple trees isn’t just about cutting back—it’s the secret to bigger, sweeter fruit and a tree that thrives for decades. 🌱 I learned this the hard way when my first harvest produced tiny, sour apples because the tree was overloaded.
The right cuts now mean juicy, full-sized fruit and a stronger structure that won’t snap under the weight.
Timing matters most: do it when fruits are the size of a dime, usually in late spring or early summer. You’ll need sharp pruning shears, gloves, and a ladder—safety first!
The goal is to leave one apple per cluster, spaced 4-6 inches apart. This might sound brutal, but trust me, your tree (and your taste buds) will thank you.
What you’ll end up with is a tree that produces fewer but far superior apples—larger, sweeter, and with fewer pests or diseases. The branches won’t bend under the load, and the tree will invest energy in growth instead of struggling to support a heavy crop.
Plus, you’ll avoid the heartbreak of broken limbs during storms.
Common mistakes include thinning too late (when fruit is already set) or going too aggressive—never remove more than 25% of the fruit in one season. Start small, observe how your tree responds, and adjust next year. With practice, you’ll develop an eye for the perfect balance.
📚 In This Guide
- What you need
- Instructions
- Tips and common mistakes
- Wrapping up and next steps
What you need
- ● Pruning shears (bypass or anvil type) – Sharp, clean blades (10-12" length) for precise cuts on smaller branches.
- ● Loppers – For branches ½" to 2" in diameter (bypass type preferred for cleaner cuts).
- ● Pruning saw – For thicker branches (2"+ diameter); choose a curved blade for ease.
- ● Ladder or step stool – Sturdy and tall enough to reach the tree’s canopy safely.
- ● Disposable gloves – Protect your hands from thorns, sap, and debris.
- ● Rubbing alcohol (70% or higher) or bleach solution – To sterilize tools between cuts and prevent disease spread.
- ● Heavy-duty trash bags or bucket – For collecting pruned branches and debris.
- ● Notebook & pencil – To sketch the tree’s structure or mark cuts for reference.
- ● Pole pruner – Extends reach for high branches without a ladder.
- ● Tree wound paint or pruning sealant – *Controversial but some gardeners swear by it for larger cuts.
- ● Safety glasses – Protects eyes from debris, especially when using a saw.
- ● Spray bottle with water – Keeps tools cool and sap from gumming up blades.
- ○ Tree growth regulator (optional) – If your tree is overly vigorous, consider using it post-pruning.
Step-by-step guide to thinning apple trees for optimal yield
Healthy fruit and vigorous growth start with the right cuts—here’s how to prune like a pro.
✂️ Step 1: Assess the Tree’s Current Structure
Start by examining the tree’s scaffold branches—those main limbs spreading from the trunk. Look for water sprouts (fast-growing vertical shoots) and crossing branches (limbs rubbing against each other). These are your first targets. I like to work on a dry, sunny day when the tree’s natural sap flow is slower—this reduces bleeding and stress on the tree.
Use a sharp pruning saw for branches thicker than ½ inch and bypass pruning shears for smaller cuts. Never use dull tools—they crush wood instead of making clean cuts. Mark your cuts with a piece of tape or chalk to avoid over-thinning in one area. A balanced tree should have 6-8 main scaffold branches spaced evenly around the trunk.
✂️ Step 2: Remove Dead, Diseased, or Weak Wood
Begin by cutting out dead branches (no green leaves, brittle wood) and diseased limbs (mushrooms at the base, oozing sap, or discolored bark). These cuts are non-negotiable—they prevent pests and disease from spreading. Make your cuts just outside the branch collar (the swollen area where the branch meets the trunk) at a 45-degree angle to prevent water from pooling.
Next, remove weak or competing branches—these are thin, spindly shoots growing straight up or crowded against stronger limbs. Thin these to open the center of the tree (the cage should be visible from the ground). I always step back every few cuts to check for balance. If the tree starts looking lopsided, adjust your cuts to restore symmetry.
✂️ Step 3: Thin Fruit Clusters for Larger, Healthier Apples
Now for the fruit: cluster thinning is key. Leave 1-2 apples per spur (the small, stubby branches where fruit forms) and 3-4 apples per cluster on larger limbs. Use your fingers or a small pruner to gently twist off excess fruit—avoid tearing the stem. You’ll see smaller, misshapen apples clustered together; these compete for nutrients and stay tiny. Your goal is larger, sweeter fruit with better color.
Focus on younger trees (under 5 years) first—they need more aggressive thinning to establish strong structure. Mature trees can handle 25-30% fruit removal, but don’t thin more than 30% in one season. Watch for fruit spurs (wooden bumps with tiny leaves) and prioritize keeping clusters on south-facing branches (they get more sun and ripen faster).
✂️ Step 4: Shape for Airflow and Sunlight
Step back and evaluate the tree’s canopy—the space the branches occupy. Aim for an open center with branches spaced 8-12 inches apart. This improves airflow, reducing humidity-related diseases like apple scab and powdery mildew. Cut back any branches growing inward or downward—they block light and encourage disease.
For vertical shoots, make a heading cut (cutting back to an outward-facing bud) to encourage branching. You’ll see these as long, whip-like growths with no leaves. A properly thinned tree should have sunlight reaching the ground beneath it. If you’re unsure, snap a photo and compare it to healthy apple tree diagrams online—visual cues help more than rules.
⏰ Step 5: Clean Up and Monitor Progress
After pruning, sterilize your tools with rubbing alcohol to prevent spreading disease. Collect and dispose of cuttings (don’t compost them—they can harbor pests). Water the tree deeply to help it recover, but avoid heavy watering right after major cuts (wait 2-3 days). You’ll notice new shoots emerging from dormant buds within 4-6 weeks—these are signs of healthy regrowth.
Monitor the tree over the next 2-3 months for signs of stress (yellowing leaves, oozing sap) or disease (black spots, mold). If you see epicormic shoots (tiny branches sprouting from the trunk), they’re a sign the tree is compensating for poor light—adjust future cuts to improve canopy openness. Thin again in late winter (before buds swell) to maintain shape and yield.
Tips & tricks for perfect apple tree pruning
Here's what nobody tells you about pruning—these tricks will help you avoid common mistakes and get the best results.
Timing is Everything: Prune during the dormant season (late winter, before buds swell) when the tree is less stressed. If you must prune during growing season, do it on a cool, cloudy day to minimize sap flow. I've learned the hard way that summer pruning can stress trees and invite pests—trust me on this. The 4-6 weeks after pruning is also crucial: that's when you'll see new growth, so monitor closely for signs of stress.
Tool Sharpness Matters: A dull saw or shears will crush wood instead of making clean cuts. Test your tools by making a clean cut on a small branch—if it looks jagged, sharpen immediately. I keep a small file in my toolkit for quick touch-ups between uses. For branches thicker than ½ inch, a pruning saw is non-negotiable—don't try to force shears through thick wood, or you'll damage both the branch and your tools.
Visual Cues for Better Cuts: When making cuts, look for the branch collar (that swollen area where the branch meets the trunk). Cut just outside this collar at a 45-degree angle—this prevents water from pooling and reduces disease risk. For vertical shoots, aim to cut back to an outward-facing bud. I like to use a piece of tape to mark my cuts before making them, especially on larger trees where I might lose track of my progress.
Monitoring After Pruning: After your cuts, keep an eye out for epicormic shoots (tiny branches sprouting from the trunk)—these indicate the tree is compensating for poor light. If you see them, it's a sign to adjust future cuts for better canopy openness. Also watch for new shoots emerging from dormant buds within 4-6 weeks—these are good signs of healthy regrowth. I always set a reminder to check my trees at the 2-3 month mark to ensure they're recovering well.
Pro Tips for Thinning Apple Trees
- Here's what nobody tells you about pruning—these tricks will help you avoid common mistakes and get the best results.
- Timing is Everything: Prune during the dormant season (late winter, before buds swell) when the tree is less stressed.
- Tool Sharpness Matters: A dull saw or shears will crush wood instead of making clean cuts.
Frequently asked questions
Got questions about thinning apple trees? You’re not alone! Here are some of the most common concerns—plus clear, actionable answers to help you prune like a pro.
When is the best time to thin my apple tree?
The ideal window is late winter or early spring (just before buds swell), when the tree is dormant but pests are less active. Avoid pruning in fall—it invites disease and attracts hungry critters. Pro tip: If you must prune outside this window, do it on a dry day to minimize fungal risks.
How do I know which branches to remove?
Look for:
- Dead/dying branches (no leaves, cracked bark, or hollow centers).
- Crossing or rubbing branches (they’ll damage each other over time).
- Suckers or water sprouts (fast-growing, vertical shoots at the base or trunk).
- Overcrowded growth (branches growing too close together, blocking sunlight).
Will thinning reduce my apple harvest?
Not at all! Thinning branches actually boosts fruit quality by improving airflow and sunlight penetration. Fewer, larger apples with better flavor are the reward. Think of it like giving your tree a spa day—less stress, more energy for the good stuff.
What if I cut too much? Can I fix it?
If you’ve removed 25% or more of the tree’s canopy, it may struggle. Signs of over-pruning include excessive leaf drop or weak new growth. To recover:
- Water deeply and mulch well.
- Avoid fertilizing until new shoots appear.
- Focus on light maintenance pruning next year.
Are there alternatives to cutting branches?
If you’re hesitant about pruning, try these non-cutting strategies:
- Suction cup pruners (for small branches—less invasive than saws).
- Root pruning (digging around roots to redirect growth, best for young trees).
- Selective thinning of fruit (hand-pick small or misshapen apples to reduce branch weight).
Wrapping up and next steps
Thinning your apple trees isn’t just about pruning—it’s about strategic care that boosts fruit quality, airflow, and long-term health. By following the right techniques and timing, you’ll reward yourself with bountiful harvests and a thriving orchard for years to come. 🌳✨
Ready to take action? Start small—pick a single tree this season, gather your tools, and make those confident cuts. Before you know it, you’ll be a thinning pro, and your apple trees will thank you with juicier, sweeter fruit!