Pruning
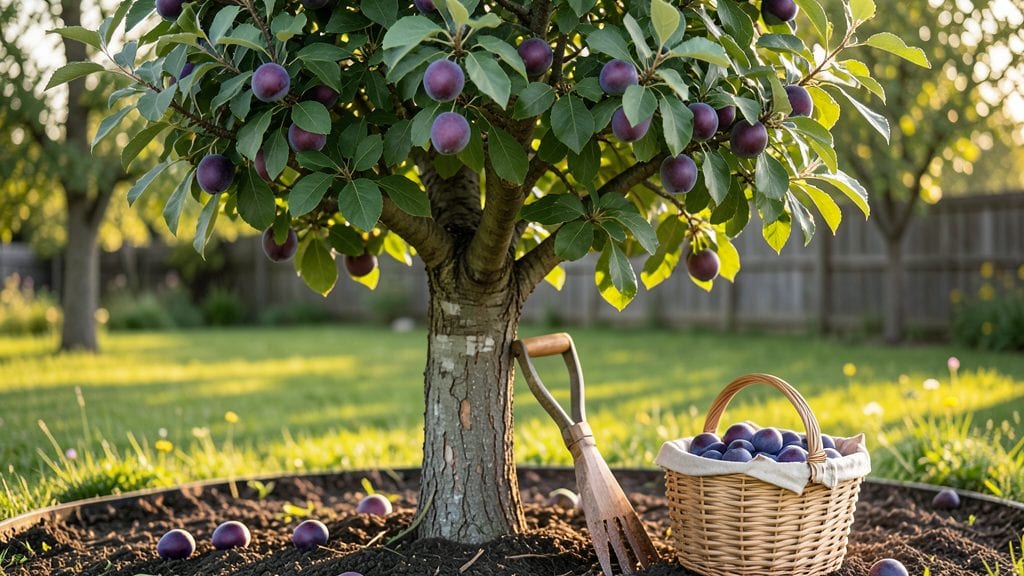
Strategic pruning turns a plum tree into a year-round fruit factory—not just a pretty shade tree.
I’ve watched my own tree go from a handful of sad plums to buckets of juicy fruit after mastering the right cuts, and the secret isn’t complicated: it’s about shaping the tree to focus its energy where it counts. The best part?
You don’t need fancy tools—just sharp pruners, a clear plan, and the right timing.
Here’s the game-changer: pruning in late winter (before buds swell) and again after harvest opens up the canopy, letting sunlight hit every branch. That’s when your tree shifts from growing wild limbs to producing heavy, flavorful fruit—think deep purple plums that practically fall into your hands.
And yes, even in small yards, this works: dwarf varieties stay manageable while still delivering a 5-gallon bucket’s worth of plums per season.
The payoff isn’t just quantity—it’s quality. Pruned trees resist disease better, fruit ripens evenly, and you avoid the heartbreak of half the crop rotting on the ground.
By summer’s end, you’ll be canning, freezing, or sharing plums like a pro. The key? Start small—just 3-5 cuts the first year—and build from there.
Works for European, Japanese, or hybrid plums, whether you’re in Zone 5 or 9. Let’s turn that tree into a fruit powerhouse—no green thumb required, just patience and a sharp eye for the right branches.
📚 In This Guide
- What you need
- Instructions
- Tips and common mistakes
- Wrapping up and next steps
What you need
- ● Pruning shears: Bypass pruners (sharp, 6-8" blades) for clean cuts on small branches.
- ● Loppers: Bypass or anvil type (18-24" handles) for branches up to 2" thick.
- ● Pruning saw: Curved-tooth or folding saw for thick branches (2"+ diameter).
- ● Gloves: Heavy-duty, cut-resistant (e.g., leather or synthetic mesh).
- ● Disinfectant: 70% isopropyl alcohol or bleach solution (1 part bleach to 9 parts water) to sterilize tools between cuts.
- ○ Sealing wax or pruning paint: Optional but helpful for large cuts (>0.5" diameter) to prevent disease.
- ● Ladder or step stool: Sturdy, non-slip (if tree is over 6 feet tall).
- ● Pruning rope or twine: For temporary support if needed during heavy pruning.
- ● Weather check: Prune on a dry, calm day (avoid rainy or windy conditions).
- ● Safety glasses: Protect your eyes from debris.
- ● Long sleeves/pants: Lightweight, breathable fabric to avoid scratches or thorns.
- ● First-aid kit: Basic supplies for minor cuts or scrapes.
- ● Tree health assessment: Inspect your plum tree for disease (e.g., brown rot) or pests before pruning.
- ● Pruning guide or chart: Printed or digital to reference ideal branch angles and shapes.
- ● Tree growth regulator: Hormonal paste to encourage faster healing on large cuts.
- ● Trash bags: Heavy-duty for collecting pruned branches and debris.
- ● Camera or notebook: To document your pruning progress before/after.
Instructions for pruning plum trees to maximize fruit production
Here's how I prune plum trees to keep them healthy and bursting with fruit year after year.
Prune During the Dormant Season for Best Results
Start your pruning in late winter or early spring, just before buds begin to swell. This timing ensures you're cutting back when the tree isn't actively growing, which minimizes stress and disease risk. I always wait until after the worst winter cold has passed but before any new growth appears. The ideal temperature for pruning is between 40-50°F when the tree is fully dormant.
Use sharp, clean pruning shears to make cuts just outside the branch collar—the swollen area where the branch meets the trunk. This prevents tearing and allows the wound to heal properly. I mark each cut with a small piece of masking tape before making it to visualize where I'll be cutting. This helps avoid over-pruning and ensures I keep the tree's natural shape.
Remove Dead, Diseased, or Crossing Branches First
Begin by identifying and removing any dead, diseased, or damaged branches. These are easy to spot—they're often brown, brittle, or have no leaves. Crossing branches, where two limbs grow toward each other, should also be cut back to prevent rubbing and bark damage. I always remove these first because they're the most obvious and least likely to affect fruit production.
Next, look for branches that grow inward toward the center of the tree. These compete for sunlight and air circulation, which can reduce fruit quality and increase disease risk. Thin out these branches by cutting them back to their point of origin. This opens up the canopy and allows sunlight to reach the inner branches where most of the fruit develops.
Shape the Tree for Optimal Airflow and Sunlight
Plum trees thrive when they have good airflow and sunlight exposure. I prune to create an open, vase-like shape with a central leader—this allows sunlight to penetrate to the inner branches where fruit develops. Start by selecting 3-5 main branches spaced evenly around the trunk. These will form the framework of your tree.
Cut back any branches that grow too close together or compete for the same space. Aim to leave branches that are well-spaced and angled outward. I like to step back every few cuts to visualize how the tree is shaping up. The goal is to create a balanced structure where sunlight reaches all parts of the canopy. This ensures even fruit production and easier harvesting.
Thin Out Fruit Bearing Branches to Improve Size and Quality
After the tree has flowered but before the fruit sets, it's time to thin out some of the branches. This might sound counterintuitive, but thinning encourages larger, higher-quality fruit. Focus on branches that are overcrowded or producing small, weak fruit. Cut these back by about one-third to encourage new growth and better fruit development.
I also remove any suckers—those vigorous shoots that grow from the base of the tree or along the trunk. These divert energy away from fruit production and can weaken the tree. Use sharp pruners to make clean cuts at the base of these suckers. This keeps the tree's energy focused on producing fruit rather than unnecessary growth.
Clean Up and Monitor for New Growth
After pruning, clean up all the debris from around the tree. This reduces the risk of disease and pests. I rake up all the cuttings and dispose of them properly—either by burning or putting them in the trash, not the compost pile. Plum trees are susceptible to fungal diseases, so keeping the area clean is crucial.
Monitor the tree over the next few weeks for new growth. You should see fresh, green shoots emerging from the pruned branches. This is a good sign that the tree is responding well to the pruning. Water the tree deeply after pruning to help it recover and encourage strong root growth. Avoid fertilizing immediately after pruning, as the tree needs time to heal before putting energy into new growth.
Tips & tricks for perfect plum tree pruning
These simple strategies will help you prune like a pro and keep your plum tree thriving for years to come.
Timing is Everything: The dormant season window between 40-50°F is your sweet spot for pruning. If you miss this timing, you risk stressing the tree or encouraging disease. I've found that pruning just as buds begin to swell—when you can see tiny green hints but no leaves—gives the best results. This ensures the tree has time to heal before spring growth begins.
Visualize Before You Cut: Before making any cuts, step back and look at your tree from all angles. Mark each branch you plan to trim with masking tape first—this helps you visualize the final shape without over-pruning. I always sketch a rough outline on paper to plan my cuts. This prevents the "too much too soon" mistake that can weaken young trees.
Clean Cuts Prevent Problems: Always use sharp pruning shears and make clean cuts just outside the branch collar. Ragged cuts create larger wounds that take longer to heal and invite pests. I like to sterilize my shears with rubbing alcohol between cuts, especially when dealing with diseased branches. This simple step can prevent fungal infections from spreading throughout your tree.
Second Pruning for Fruit Quality: After the tree has flowered but before fruit sets, do a second light pruning to thin out crowded branches. Cutting back by about one-third encourages larger, higher-quality fruit. I focus on removing branches that grow inward or are producing small, weak fruit. This might seem counterintuitive, but it actually boosts your harvest in the long run.
Pro Tips for Plum Tree Fruit
- These simple strategies will help you prune like a pro and keep your plum tree thriving for years to come.
- Timing is Everything: The dormant season window between 40-50°F is your sweet spot for pruning.
- Visualize Before You Cut: Before making any cuts, step back and look at your tree from all angles.
Frequently asked questions
Got questions about maximizing your plum tree’s fruit yield? You’re not alone!
Here are answers to the most common queries about growing, pruning, and harvesting plum tree fruit—so you can enjoy a bountiful harvest year after year.
When is the best time to prune a plum tree for fruit production?
Prune your plum tree during late winter or early spring (before buds swell)—this promotes airflow and sunlight penetration, which are key for fruit development. Avoid heavy pruning in fall, as it can stimulate new growth that’s vulnerable to frost damage. Pro tip: Always use sterilized tools to prevent disease spread!
How long does it take for a plum tree to bear fruit after planting?
Most plum trees take 2–5 years to produce fruit, depending on the variety and growing conditions. Dwarf varieties may fruit faster (1–3 years), while standard trees can take longer. Patience pays off—consistent pruning and care speed up the process! Fun fact: Some grafted trees may bear fruit even sooner.
What should I do if my plum tree isn’t producing fruit?
Lack of fruit could stem from poor pollination, overcrowding, or improper pruning. Check for:
- Cross-pollination needs (some plums require a second tree)
- Dead or diseased branches (remove them immediately)
- Over-fertilization with nitrogen (this boosts leaves, not fruit)
Can I eat plums straight from the tree, or do I need to wait?
Yes! Plums are best eaten fully ripe—they’ll be soft, slightly sweet, and may even fall to the ground. For storage, pick them when firm but colored and let them ripen indoors. Storage tip: Refrigerate for up to 2 weeks or freeze for longer shelf life.
What’s a good alternative if my plum tree keeps failing?
If your plum tree struggles with disease, pests, or poor fruit set, consider disease-resistant varieties like ‘Santa Rosa’ or ‘Stanley.’ Alternatively, try peach or apricot trees (similar care needs) or focus on ornamental plum trees for beauty without the fruit hassle.
Wrapping up and next steps
Growing a thriving plum tree with a year-round harvest is totally within reach—thanks to smart pruning and a little seasonal care! 🌿 By mastering the right cuts, timing, and techniques, you’ll enjoy juicy plums and a healthier, more productive tree for years to come.
Whether you’re trimming for shape, fruit yield, or disease prevention, your efforts will pay off in bountiful rewards.
Ready to take the next step? Grab your pruners, review your notes, and schedule your first pruning session this season. Your plum tree—and future harvests—will thank you! 🍑✨