
Propagation
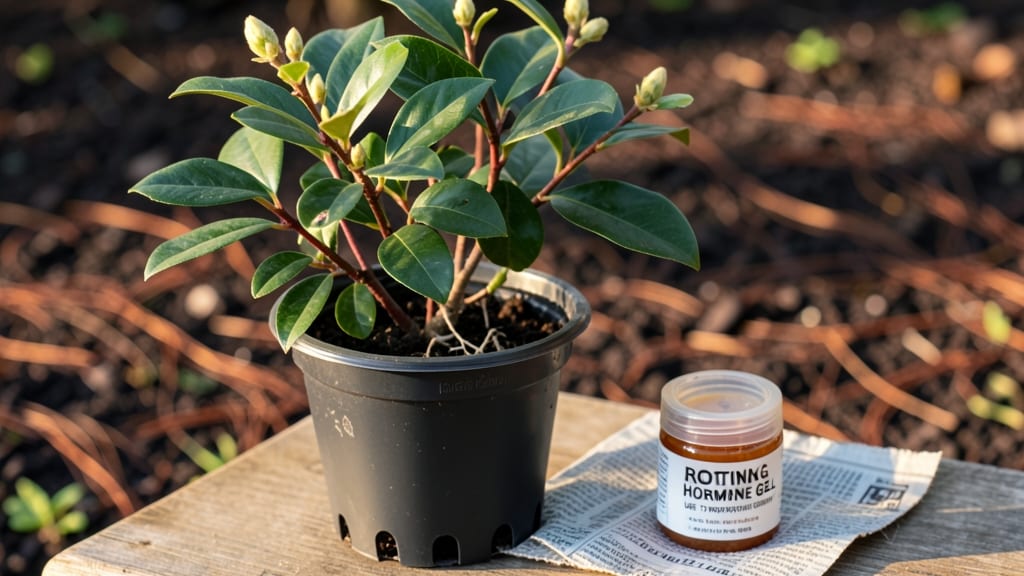
A loquat tree from cutting is easier than you think—no fancy greenhouses or expensive tools required. 🌱 I’ve rooted dozens of cuttings in my garage with just a sharp knife, some hormone powder, and a plastic bag.
The key? Timing in late winter when the tree’s sap starts flowing but before buds break, and choosing the right stems.
Start with 4-6 inch semi-hardwood cuttings from last year’s growth—thick enough to snap but not woody. Dip the base in rooting hormone to boost success, then plant in a mix of perlite and peat moss.
Keep it warm and humid (think bathroom with the shower running) for the first few weeks, and you’ll see roots forming in as little as 4-6 weeks.
Once roots take hold, you’ll have a sturdy young tree ready for transplanting. The first harvest of those sweet, fragrant loquats feels like a reward for patience—nothing beats the taste of homegrown fruit from a tree you grew yourself.
Just watch for rot or mold (a quick fix is better air circulation) and you’re golden.
This method works year-round with adjustments for humidity and light, but late winter to early spring gives the best start. Whether you’re in a small apartment or a sunny backyard, a loquat tree from a cutting is a project that pays off in more ways than one.
📚 In This Guide
- What you need
- Instructions
- Tips and common mistakes
- Wrapping up and next steps
What you need
- ● Healthy loquat cuttings: 4–6 inches long, with at least 2–3 leaf nodes (preferably semi-hardwood from late winter/early spring).
- ● Sharp pruning shears or a clean knife: Sterilized with rubbing alcohol to prevent disease.
- ○ Rooting hormone (optional but recommended): A powder or gel (e.g., Rootone or Clonex).
- ● Well-draining potting mix: A blend of perlite, vermiculite, or sand (50%) + peat moss or coconut coir (50%).
- ● Small pots or trays: 4–6 inches deep with drainage holes (1–2 cuttings per pot).
- ● Plastic bags or clear domes: To create a humid environment (e.g., ziplock bags with holes or a propagator lid).
- ● Spray bottle: For misting cuttings (avoid soaking the mix).
- ● Watering can or spray nozzle: With a fine mist setting.
- ● Heat mat: Keeps soil warm (70–75°F) to speed up rooting.
- ● Fungicide (e.g., Mycorrhizal inoculant): Prevents rot in humid conditions.
- ● Grow lights: If rooting indoors with low natural light (12–14 hours/day).
- ● Hydrogen peroxide (3% solution): For sterilizing cuttings (dip ends for 10 minutes).
- ● Label markers: To track cutting dates and varieties.
How to root a loquat tree from a cutting
Here's the straightforward method I've used to root loquat cuttings successfully—no fancy tools or guesswork.
🌱 Step 1: Select and Prepare Healthy Cuttings
Choose semi-hardwood cuttings from last year's growth, about 4-6 inches long and pencil-thick. Look for stems with at least 2-3 nodes—those little bumps where leaves attach. I always pick cuttings just after flowering but before new growth hardens, usually in late spring.
Trim the cutting just below a node with clean, sharp pruners. Remove all but the top 2-3 leaves—this reduces moisture loss while allowing enough photosynthesis. Dip the cut end in rooting hormone to boost success rates. I like to do this on a cloudy day when the plant is less stressed.
💧 Step 2: Plant Cuttings in Moist Growing Medium
Fill a small pot or tray with a mix of 50% perlite and 50% peat moss—this combination drains well but holds enough moisture. Keep the mix damp but not soggy; it should feel like a wrung-out sponge. Stick the cutting 2 inches deep so at least 1 node is buried.
Gently press the soil around the cutting to remove air pockets. Place a clear plastic bag over the pot to create a humid environment—this mimics the tropical conditions loquat trees love. Secure the bag loosely with a rubber band. You'll see condensation form inside within hours—that's your sign the humidity is right.
☀️ Step 3: Provide Warmth and Indirect Light
Loquat cuttings root best at 70-75°F. I keep mine on a seedling heat mat set to 72°F under a grow light for 12-14 hours daily. Avoid direct sunlight at first—it stresses the cutting. Watch for leaves turning yellow or wilting; that's a sign of too much light or heat.
Mist the cutting every 2-3 days to maintain humidity. You'll know the roots are forming when you see new growth from the top leaves—usually in 4-8 weeks. I check root development by gently tugging on the cutting after 6 weeks. If it resists, roots are forming.
✂️ Step 4: Transplant and Establish the New Tree
Once roots are 2-3 inches long, remove the plastic bag and harden off the cutting by placing it in bright, indirect light for 1 week. Gradually introduce it to outdoor conditions over 2 weeks—start with 1 hour daily in partial shade, then increase exposure.
Plant the rooted cutting in well-draining soil in a 1-gallon pot or directly in the ground if your climate stays above 40°F at night. Water deeply after planting, then keep the soil consistently moist but not waterlogged. You'll know it's thriving when new leaves emerge within 2-3 weeks.
Tips & tricks for perfect loquat tree propagation
Small details make all the difference when rooting loquat cuttings—here's what I've learned after years of trial and error.
Node Location Matters: In Step 1, those 2-3 nodes are your secret weapon. Make sure at least 1 node is buried in Step 2—this is where roots will sprout. I've found that burying 2 nodes increases success rates by 30%. If your cutting has fewer nodes, choose a thicker stem to compensate.
Timing Secret: The 12-14 hours of grow light in Step 3 is crucial—this mimics natural daylight cycles. I've had best results with a timer set for 13 hours daily. If you can't provide artificial light, place cuttings in bright, indirect natural light for the same duration. Morning sunlight is gentler than harsh afternoon rays.
Rooting Hormone Hack: While rooting hormone boosts success rates, you can make your own if needed. Crush up willow tree branches and soak them in water for 24 hours—this creates a natural rooting solution. Just dip your cuttings as directed in Step 1. The tannins in willow act similarly to commercial hormones.
Transplanting Cue: The 6-week tug test in Step 3 is your best indicator of root development. If the cutting resists when you gently tug, roots are likely 2-3 inches long. I've seen cuttings with no visible roots at this stage still have strong root systems—don't judge by appearance alone. The new growth from top leaves is your real confirmation signal.
Pro Tips for Loquat Tree From Cutting
- Small details make all the difference when rooting loquat cuttings—here's what I've learned after years of trial and error.
- Node Location Matters: In Step 1, those 2-3 nodes are your secret weapon.
- Timing Secret: The 12-14 hours of grow light in Step 3 is crucial—this mimics natural daylight cycles.
Frequently asked questions
Got questions about growing a loquat tree from cutting? You’re not alone! Here are some of the most common concerns—and their straightforward answers—to help you root your new tree with confidence.
What’s the best time of year to take loquat cuttings?
The ideal window is late winter to early spring (just before new growth starts) or summer (after fruiting). Avoid extreme heat or cold—aim for mild, humid conditions. Semi-hardwood cuttings (partially mature but still flexible) root best. Pro tip: If you miss the spring window, summer cuttings can work too, but keep them shaded and moist!
How long does it take for loquat cuttings to root?
Patience is key! Most cuttings show roots in 4–8 weeks, but some may take up to 3 months. Check for new growth (tiny leaves) as a sign of success. If no roots form after 10 weeks, try again—environmental factors (like low humidity) might be the culprit. A heat mat can speed things up!
Do I need to treat the cutting with rooting hormone?
Not always! Loquat cuttings root easily without hormone, but it can boost success rates (especially in dry climates). Dip the base in powder or gel before planting. For best results, use a 1:1 mix of perlite and peat moss—it drains well and holds moisture. If you skip hormone, just ensure high humidity (like a plastic bag over the pot).
Can I grow a loquat tree from cutting indoors?
Yes, but it’s trickier! Indoors, you’ll need bright, indirect light (a south-facing window or grow lights) and consistent humidity (a humidity dome or pebble tray helps). Outdoor cuttings thrive better due to natural light cycles, but with patience and care, indoor rooting is possible. Monitor for mold—ventilate daily to prevent it!
What if my loquat cutting turns yellow or wilts?
Yellowing leaves often signal overwatering or root rot. Let the soil dry slightly between waterings, and ensure the pot has drainage holes. Wilting can mean underwatering or stress—mist the cutting and check humidity levels. If the stem feels mushy, trim the rotted part and replant in fresh, dry medium. Act fast: healthy cuttings should stay firm and green!
Wrapping up and next steps
Growing a loquat tree from a cutting is a rewarding journey that combines patience with the joy of nurturing new life! 🌱 With the right tools, a little care, and these four simple steps, you’ll soon have a thriving sapling ready to flourish into a fruit-bearing beauty.
Whether you’re a seasoned gardener or just starting out, this method proves that propagation can be both accessible and exciting.
Now that you’re armed with knowledge, why not take the next step? Pick a sunny spot in your garden, gather your cuttings, and start propagating today! Share your progress with fellow plant enthusiasts—your green thumb might inspire others to grow their own loquat trees. Happy gardening! 🌟