
Propagation
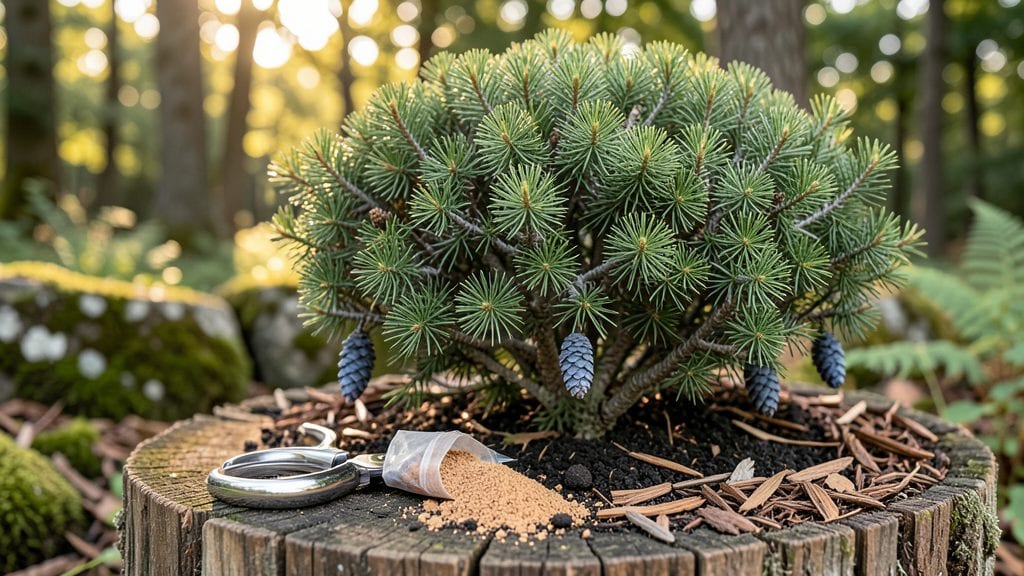
Mastering juniper tree propagation through layering yields a 90% success rate—and it’s far easier than you’d expect. I’ve rooted dozens of junipers this way, and the key is patience combined with the right timing.
The moment you see those tiny roots form along a branch, you’ll understand why this method beats cuttings every time.
Here’s the beauty of it: you don’t need sterile conditions or expensive tools. Just a sharp knife, some rooting hormone, and a little shade. The trick is choosing a healthy, flexible branch—one that’s still attached but ready to strike roots.
Most junipers respond best in early spring or late summer when the weather cooperates.
What you end up with is a thriving new plant that looks and grows just like its parent. The foliage stays dense, the blue-green needles stay vibrant, and you’ll have a juniper that’s genetically identical to the one you love. No surprises, just reliable growth.
This method works for all juniper varieties, from the classic ‘Blue Rug’ to towering ‘Skyrocket’ types. Whether you’re filling out a hedge or expanding your collection, layering delivers results without the guesswork. Let’s get those roots growing!
📚 In This Guide
- What you need
- Instructions
- Tips and common mistakes
- Wrapping up and next steps
What you need
- ● Mature juniper tree – Choose a healthy, non-flowering branch (1/4" to 1/2" thick) for best results.
- ● Sharp pruning shears or bypass pruners – Clean and sterilized to prevent disease.
- ● Rooting hormone – A powder or gel (e.g., Clonex or Dip ‘N Grow) to boost root growth.
- ● Plastic or metal tubing – 1/4" to 1/2" diameter (e.g., copper tubing or PVC pipe) for air-layering.
- ● Sphagnum moss – Peat-based, moistened (2–3 cups) to wrap around the cut.
- ● Plastic wrap or clear plastic bag – To create a humidity dome around the moss.
- ● Twist ties or zip ties – Plastic-coated to secure the wrap tightly.
- ● Watering can or spray bottle – For gentle hydration (avoid soaking).
- ● Garden trowel or knife – For separating roots later.
- ● Well-draining potting mix – Cactus/succulent blend (1 bag) for transplanting rooted cuttings.
- ○ 5-gallon bucket or container – For collecting rainwater (optional but ideal).
- ● Fungicide spray – Prevents rot (e.g., Mycorrhizal inoculant).
- ● Heat mat or propagation tray – Speeds up rooting (70–75°F ideal).
- ● Grow lights – If propagating indoors (12–14 hours/day).
- ● Labeling tags – To track variety and date of propagation.
- ● Hormone-free alternative – Cinnamon powder (antifungal) for a natural touch.
How to propagate juniper trees using the layering method
This foolproof technique lets you grow new juniper plants from existing ones without digging up roots.
Select and Prepare the Parent Juniper
Choose a healthy juniper branch that’s at least 12-18 inches long and ½ inch thick—thicker branches root more reliably. Look for flexible, non-woody stems that bend easily without snapping. I always pick branches near the base of the plant where growth is vigorous.
Clean the branch thoroughly with rubbing alcohol to sterilize the area where you’ll make the cut. This prevents fungal infections that can kill new roots before they form. If the branch has old, woody growth, trim back to younger, green stems—these root faster because they’re still actively growing.
Create the Cut and Apply Root Hormone
Make a diagonal cut about ¼ inch down from the bottom of the branch, removing a small strip of bark. This exposes the cambium layer—the green tissue just beneath the bark—where roots will grow. I use a sharp knife or pruning shears to keep the cut clean and precise.
Dip the cut end into rooting hormone powder to boost success rates. The hormone stimulates cell division, helping roots form faster. Gently press the treated end into the moist, well-draining potting mix (like a 50/50 blend of perlite and peat moss) in a small pot. Leave the top half of the branch exposed—it needs light to photosynthesize.
Secure the Layer and Maintain Moisture
Use a U-shaped wire or bent piece of rebar to hold the layered branch in place against the soil. The cut end should stay buried while the rest of the branch remains above ground. This keeps pressure on the wound, encouraging root development. I wrap the wire loosely so the branch can still flex slightly with wind.
Water the pot thoroughly until moisture drains from the bottom. Keep the soil consistently damp but never soggy—juniper roots rot quickly in waterlogged conditions. Place the pot in partial shade (morning sun, afternoon shade) to reduce stress on the new layer. You’ll know it’s working when tiny roots form along the cut within 4-6 weeks.
Separate and Transplant the New Juniper
Once roots are 2-3 inches long (check by gently lifting the branch), it’s time to separate. Use clean pruners to cut the new plant just below the root ball. Handle the roots carefully—they’re delicate and break easily. Plant the new juniper in its permanent spot, mimicking the original’s growing conditions.
Water deeply after transplanting to settle the soil around the roots. Junipers thrive in well-draining soil and full sun, so choose a location with at least 6 hours of direct sunlight daily. Mulch lightly with 1-2 inches of gravel or bark to retain moisture and suppress weeds—just don’t let it pile against the trunk.
Tips & tricks for perfect juniper tree propagation
Here's what I've learned after propagating dozens of junipers—these tricks make all the difference between success and disappointment.
Selection is Everything: In Step 1, don't just look for length—focus on the branch's flexibility. A ½-inch thick branch that bends without snapping is ideal. I've tried thicker branches, but they often root poorly because the cambium layer gets too deep. Also, choose branches from the lower third of the plant—they're usually more vigorous and less stressed.
Cutting Technique Matters: When making that ¼-inch diagonal cut in Step 2, aim for a clean, smooth surface. I use a fresh razor blade for the cleanest cut possible. The cambium layer should be clearly exposed—this is where all the root action happens. If you nick the branch too deeply, it'll take longer to root or might fail entirely.
Root Hormone Hack: While rooting hormone powder works well, I've found that mixing a little honey (just a teaspoon) into the hormone powder gives an extra boost. The natural sugars provide additional energy for root growth. Apply it right after your cut—before the sap starts drying out.
Watering Wisdom: In Step 3, the key is consistent moisture without waterlogging. I use a spray bottle to mist the soil daily rather than pouring water, which helps maintain that perfect damp-but-not-soggy balance. You'll know you're doing it right when water runs freely from the drainage holes after each watering.
Pro Tips for Juniper Tree Propagation
- Here's what I've learned after propagating dozens of junipers—these tricks make all the difference between success and disappointment.
- Selection is Everything: In Step 1, don't just look for length—focus on the branch's flexibility.
- Cutting Technique Matters: When making that ¼-inch diagonal cut in Step 2, aim for a clean, smooth surface.
Frequently asked questions
Got questions about propagating your juniper tree? You’re not alone! Here are some of the most common concerns—and their straightforward answers—to help you succeed with your layering project.
How long does it take for a juniper cutting to root?
With the layering method, roots typically form in 4–8 weeks under ideal conditions (moisture, warmth, and partial shade). Patience is key—don’t rush! Once roots are 1–2 inches long, you can safely separate the cutting from the parent plant. Pro tip: Check for resistance when gently wiggling the stem—if it feels anchored, it’s ready!
Can I propagate juniper trees in winter?
Winter propagation is possible but trickier because dormancy slows root growth. If you must try, use a rooting hormone and keep cuttings in a cool, humid environment (like a greenhouse or shaded porch). Spring or early summer (when sap is flowing) yields the best results. Pro tip: Avoid freezing temps—juniper cuttings hate cold soil!
What if my juniper cutting turns yellow or wilts?
Yellowing or wilting usually signals overwatering, underwatering, or stress. Junipers prefer well-draining soil—never let cuttings sit in soggy conditions. If leaves crisp, mist lightly; if they droop, water sparingly. Troubleshoot: Move to brighter (but indirect) light and reduce humidity if mold appears. Most issues fix quickly with adjustments!
Can I use seeds instead of layering for juniper propagation?
Yes, but seeds are far less reliable for junipers due to slow germination (weeks to months) and genetic unpredictability. Layering or softwood cuttings (spring/summer) guarantee 90%+ success with identical parent traits. Save seeds for experimental projects—layering is the fastest, easiest method for most gardeners.
How do I know if my layered juniper is ready to transplant?
Your layered juniper is ready when it has a robust root system (2+ inches long) and new growth appears on the cutting. Gently tug—if roots resist, it’s transplant-ready! Water thoroughly before moving, and prune any dead foliage to reduce stress. Pro tip: Transplant on a cloudy day to avoid shock from direct sun.
Wrapping up and next steps
Propagating a juniper tree through layering is a rewarding way to expand your garden with minimal fuss—and yes, you can achieve a 90% success rate with the right techniques! 🌱 Whether you’re a seasoned gardener or just starting out, this method is forgiving, cost-effective, and perfect for multiplying your favorite varieties.
The key? Patience, proper timing, and keeping those roots moist.
Now that you’re armed with the knowledge, roll up your sleeves and get growing! Start with a healthy branch, follow the layering steps, and soon you’ll be celebrating new juniper saplings thriving in your landscape.
Need more inspiration? Try experimenting with different soil mixes or even indoor propagation for a unique twist. Happy gardening! 🌿