
Pruning
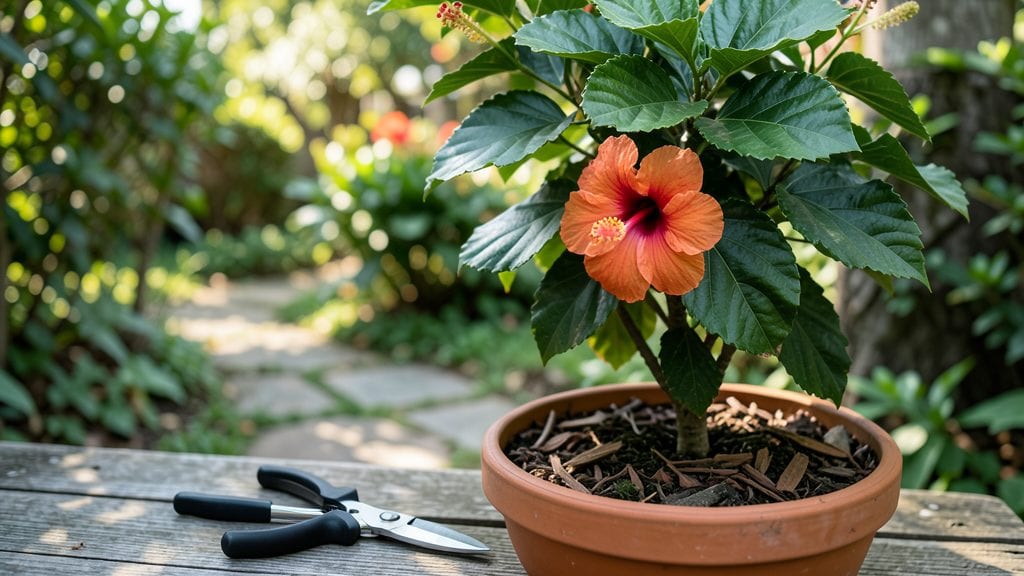
Trimming a hibiscus tree isn’t just about keeping it tidy—it’s the secret to doubling those bold blooms next season. 🌺 I’ve learned the hard way that skipping this step means fewer flowers and leggy branches that flop in summer storms.
The right cuts at the right time transform a scraggly shrub into a lush, flowering powerhouse.
You’ll need just three basic tools: sharp bypass pruners, a small hand saw for thicker branches, and a pair of gloves to protect against thorns. The timing matters too—spring is ideal, but you can also shape lightly after major blooms fade.
Think of it like giving your hibiscus a fresh haircut: clean lines encourage new growth where you want it.
Start by removing any dead or crossing branches first—they’re the eyesore holding back your plant’s potential. Then, cut back about one-third of last year’s growth to encourage bushier growth. For tropical hibiscus, avoid heavy pruning in fall, as they need those leaves to photosynthesize through winter.
The result? More flowers, better shape, and a plant that looks like it belongs in a botanical garden.
After trimming, give your hibiscus a drink to help it recover, and hold off on heavy fertilizer for a few weeks. Watch for new shoots within 4-6 weeks—that’s your sign the pruning worked.
Even if you make a few mistakes, hibiscus are forgiving. The key is consistency, not perfection. Let’s get those shears out and turn your plant into a blooming star.
📚 In This Guide
- What you need
- Instructions
- Tips and common mistakes
- Wrapping up and next steps
What you need
- ● Pruning shears: Bypass pruners (for clean cuts on small branches, 4-6" blades, sharp and stainless steel).
- ● Loppers: Bypass or anvil type (for thicker branches, 8-12" cutting range, ergonomic handles).
- ● Pruning saw: Curved-tooth or bow saw (for branches thicker than 2 inches; 10-14" blade length).
- ● Gloves: Heavy-duty, cut-resistant (to protect hands from thorns and sharp tools; leather or reinforced fabric).
- ● Disinfectant: Rubbing alcohol (70%+) or bleach solution (1 part bleach to 9 parts water) (to sterilize tools between cuts and prevent disease).
- ○ Sealing wax or pruning paste: (optional but recommended for large cuts to prevent sap oozing and pests; 1-2 oz container).
- ● Ladder or step stool: (if your hibiscus is taller than 6 feet; ensure it’s stable and non-slip).
- ● Trash bags or bucket: (for collecting pruned branches; 10-gallon capacity or larger if needed).
- ● Hand pruners: Compact bypass type (for precision trimming on small, hard-to-reach spots).
- ● Extension pole saw: (for high branches without a ladder; 10-12 ft reach).
- ● Sharpie marker: (to mark branches for future reference or training).
- ● Hose with nozzle: (to rinse tools and clean sap off branches post-pruning).
- ● Safety glasses: (to protect eyes from debris or sap splatter).
Step-by-step instructions for trimming a hibiscus tree
Here's my foolproof method for shaping your hibiscus while maximizing those stunning blooms.
✂️ Step 1: Gather Tools and Prepare for Trimming
Start with clean, sharp pruning shears and a small pruning saw if you're cutting thicker branches. I always disinfect my tools with rubbing alcohol first—this prevents spreading disease between cuts. Wear gloves too; hibiscus leaves can be prickly, and the sap sometimes irritates skin.
Check the weather forecast before you begin. Trim on a dry, sunny day when temperatures are mild—never prune in extreme heat or cold. You'll want to work when the tree is actively growing but not stressed. Early morning is ideal because that's when the plant is hydrated and ready to handle the stress of pruning.
✂️ Step 2: Remove Dead or Damaged Growth First
Scan the entire tree for any dead, diseased, or crossing branches. Dead wood is easy to spot—it's brown, brittle, and won't bend. Diseased branches often have black spots or unusual growths. Cut these out first using clean cuts at a 45-degree angle about ¼ inch above a leaf node or bud.
Crossing branches compete for energy and can create weak points where pests enter. Look for branches rubbing against each other. Make your cuts just outside the branch collar—the swollen area where the branch meets the trunk. This ensures the wound heals properly and prevents water from pooling, which can cause rot.
✂️ Step 3: Shape the Tree for Airflow and Light Penetration
Hibiscus trees need good airflow to prevent fungal diseases. Step back and visualize how light moves through the tree. Start by thinning out the center—remove about 20-30% of the interior branches to create an open, airy structure. This encourages new growth on the outer branches where you'll see the most blooms.
Use your shears to cut branches back to their point of origin or to a strong lateral branch. Never leave stubs—always cut just above a bud or leaf node. For larger branches, make a small undercut first to control the sawing direction. Watch for the tree's natural shape; hibiscus trees grow in a vase-like form, so encourage that by pruning branches that grow inward.
☀️ Step 4: Encourage Blooming with Strategic Cuts
To boost flowering, focus on the current season's growth. Cut back the previous year's branches by about ⅓ to encourage new, vigorous growth. Hibiscus blooms form on new wood, so pruning stimulates more flowers. Make your cuts just above a set of leaves or a bud that faces outward—this directs energy to the most productive growth.
If your hibiscus isn't blooming much, look for "blind" stems—those without buds or leaves. These stems won't produce flowers, so prune them back to a point where you see healthy growth. After pruning, give the tree a light fertilizer with higher phosphorus content to support flower production. You'll notice new buds forming within 4-6 weeks if the timing and cuts are right.
⏰ Step 5: Clean Up and Monitor Recovery
After trimming, rake up all the debris and dispose of it properly—don't leave clippings on the ground, as they can harbor pests or diseases. Water the tree deeply to help it recover from the stress of pruning. You'll see new growth emerging from the pruned areas within 2-3 weeks, signaling that the tree is responding well.
Keep an eye on the tree over the next few weeks. If you notice any yellowing leaves or wilting, it might be reacting to the pruning. In this case, reduce watering slightly and avoid fertilizing until the tree shows signs of new, healthy growth. With proper care, your hibiscus will reward you with even more vibrant blooms next season.
Tips & tricks for perfect hibiscus trimming
These simple tricks will help you shape your hibiscus like a pro while keeping it healthy and blooming beautifully.
Tool Prep Matters: Before you start cutting, sharpen your pruning shears with a file or on a sharpening stone. Dull blades crush stems instead of making clean cuts, which stresses the plant and invites disease. I also recommend having a small bucket of rubbing alcohol nearby to disinfect your tools between cuts—this prevents spreading any potential infections from branch to branch.
Timing is Everything: The instructions mention trimming on a dry, sunny day with mild temperatures, but here's the thing—spring is actually the best time to do major pruning. That's when your hibiscus is just waking up from dormancy and ready to put that energy into new growth. If you must prune in summer, do it early in the morning to avoid stressing the plant during peak heat.
Visualize the Vase Shape: When shaping your hibiscus in Step 3, think of it as a vase—wider at the top, narrower at the bottom. The natural growth habit of hibiscus is to form this shape, so work with it rather than against it. Remove any branches growing straight up or inward, as these create dense areas that block light and air circulation. This open structure prevents fungal diseases and encourages more blooms on the outer branches where you can see them.
Fertilizer Timing Tip: After pruning, the instructions suggest adding a light fertilizer with higher phosphorus to support flower production. I've found the best time to apply this is about 2-3 weeks after pruning, when you start seeing new growth. This gives the tree time to recover from the stress of pruning before putting extra energy into blooming. Look for a fertilizer with an NPK ratio like 10-20-10, where the middle number (phosphorus) is highest.
Pro Tips for Trim A Hibiscus Tree
- These simple tricks will help you shape your hibiscus like a pro while keeping it healthy and blooming beautifully.
- Tool Prep Matters: Before you start cutting, sharpen your pruning shears with a file or on a sharpening stone.
- Timing is Everything: The instructions mention trimming on a dry, sunny day with mild temperatures, but here's the thing—spring is actually the best time to do major pruning.
Frequently asked questions
Got questions about trimming your hibiscus tree? You’re not alone! Here are answers to the most common concerns—so you can prune with confidence and keep your plant thriving.
When is the best time to trim a hibiscus tree?
The ideal time depends on your goal: late winter or early spring (just before new growth) is best for shaping and rejuvenation. For encouraging more blooms, trim lightly after flowering (summer/fall). Avoid heavy pruning in fall—it can stunt winter hardiness.
How much can I trim a hibiscus tree without killing it?
Hibiscus trees are resilient, but don’t overdo it! You can safely remove up to 1/3 of the plant’s foliage in one session. For mature trees, focus on dead, diseased, or overcrowded branches first. Prune younger trees more aggressively (up to 50%) to encourage bushier growth. Just avoid cutting into old wood—new blooms grow on fresh growth!
Can I trim a hibiscus tree in winter?
Light trimming in mild winters (if temps stay above freezing) is fine, but avoid heavy pruning. Cold snaps can stress the plant, and new growth may not harden off before spring. If you must prune in winter, stick to removing dead branches and wait for warmer weather to shape the tree.
Will trimming my hibiscus tree make it bloom more?
Yes! Pruning encourages new growth, which leads to more flowers. Focus on cutting back overgrown branches by 1/3 and removing spent blooms (deadheading). For tropical hibiscus, trim lightly after each flush of flowers. Hardy hibiscus benefit from a harder prune in late winter—just don’t wait too long, or you’ll miss the spring bloom!
What do I do if my hibiscus tree looks sad after trimming?
Don’t panic! A little stress is normal. Water deeply and fertilize with a balanced, acidic fertilizer (like 8-3-9) to help recovery. If leaves yellow or wilt, check for over-pruning or pests. Most hibiscus bounce back in 4-6 weeks with proper care. Avoid heavy pruning again for at least 3 months.
Wrapping up and next steps
Trimming your hibiscus tree doesn’t have to be intimidating—with the right tools, timing, and techniques, you’ll keep it healthy, blooming, and beautifully shaped all year long! 🌸 Whether you’re pruning for shape, size, or a burst of new flowers, remember: patience and precision go a long way.
Now that you’re armed with expert tips, grab those shears and give your hibiscus the care it deserves.
Ready to take it further? Monitor your tree’s growth after trimming and adjust as needed—your hibiscus will thank you with vibrant blooms and lush foliage for seasons to come! 🌿