
Pruning
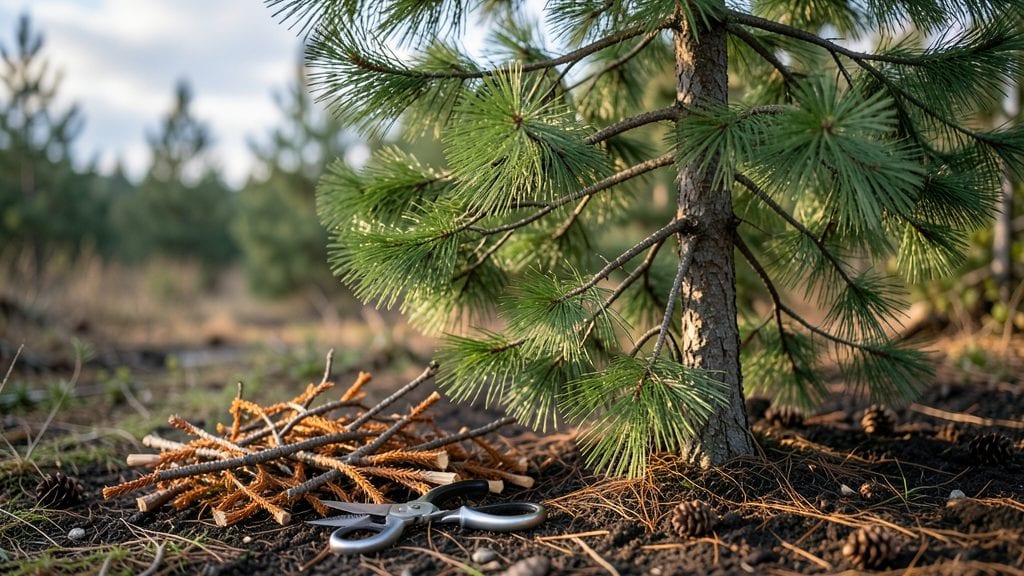
Pruning evergreen trees isn't just about shaping—it's about keeping them healthy and preventing future headaches. 🌲 I've seen how a single bad cut can turn a sturdy tree into a safety hazard, but the right technique keeps evergreens thriving for decades.
The key is understanding when to prune, which branches to remove, and how to make clean cuts that heal properly.
Most people wait until spring, but evergreens actually handle pruning best in late winter or early spring before new growth starts. You'll need sharp bypass pruners for smaller branches and a pruning saw for thicker stems, plus sterilized tools to prevent disease spread.
The goal is to remove dead or diseased branches first, then thin out crowded growth to improve airflow—this keeps pests and fungal issues at bay.
What you'll end up with is a tree that looks naturally balanced and grows stronger each year. Proper pruning encourages new growth in the right places, reduces storm damage risk, and even makes maintenance easier down the road.
The secret is patience—never remove more than 25% of the foliage in one session, or you'll shock the tree.
This method works for all evergreens, from pine and spruce to yew and boxwood, though some species like junipers respond better to shaping cuts. We'll cover species-specific tips later, but the core principles stay the same—clean cuts, strategic thinning, and timing matter most. Let's get those shears ready!
📚 In This Guide
- What you need
- Instructions
- Tips and common mistakes
- Wrapping up and next steps
What you need
- ● Pruning shears: Bypass pruners with sharp, bypass blades (4-6 inches) for clean cuts on small branches (up to ½ inch thick). Bypass is key—avoid anvil-style shears to prevent crushing.
- ● Loppers: Bypass loppers (18-24 inches) for medium branches (½ to 1½ inches thick). Look for ratcheting or bypass designs for precision.
- ● Pruning saw: A curved-tooth handsaw or folding pruning saw for thick branches (1½+ inches). Never use a chainsaw—evergreens are brittle!
- ● Extension pole: A 3-10 foot telescoping pole with a pruner or saw attachment for high branches. Adjustable lengths are ideal for varying tree heights.
- ● Work gloves: Heavy-duty, cut-resistant gloves (e.g., Mechanix or Wolverine) to protect against thorns, sap, and sharp tools.
- ● Safety glasses: ANSI-rated goggles to shield eyes from debris and sap splatter.
- ● Ladder: A stable, non-slip ladder (e.g., aluminum extension ladder) for reaching higher branches. Never stand on the top rung!
- ● Rope or harness: For very tall trees, use a tree-climbing harness or rope (with a partner for safety).
- ● Disinfectant: 70% isopropyl alcohol or bleach solution (1 part bleach to 9 parts water) to sterilize tools between cuts and prevent disease spread.
- ● Sealant: Pruning sealant (e.g., Tanglefoot Tree Wound Pruning Seal) for large cuts (1+ inch diameter) to reduce moisture loss.
- ● Marking spray: Bright-colored spray paint to mark branches for removal before cutting.
- ● First-aid kit: Just in case—bandages, antiseptic wipes, and tweezers for minor injuries.
- ● Weather check: Prune on a dry, calm day (avoid wind or rain). Early morning or late afternoon is best to avoid stressing the tree.
- ● Safety briefing: Know your tree’s height, weight, and species. Some evergreens (like pines) are heavier when wet—plan accordingly!
- ● Cleanup plan: Have bags or a tarp ready for debris. Evergreen needles can be slippery—wear sturdy shoes.
Step-by-step guide to pruning evergreen trees
Here's the method I trust to keep evergreens healthy and beautiful all year.
✂️ Step 1: Gather Tools and Assess the Tree
Start with sharp, clean tools: a pruning saw for thick branches, bypass pruners for medium stems, and hand pruners for small growth. I always disinfect blades with rubbing alcohol to prevent disease spread between cuts. Wear gloves and safety glasses—evergreen branches can be sharp and resinous.
Examine the tree for dead, crossing, or diseased branches first. These are your priority. Look for branches that rub against each other, grow inward, or show signs of disease like fungal growth or oozing sap. Healthy evergreens have vibrant green needles and firm, flexible branches. Mark these problem areas with flagging tape if you're unsure—you'll want to address them first.
✂️ Step 2: Remove Dead and Damaged Branches
Cut out dead branches completely at their base, making the cut just outside the branch collar where the branch meets the trunk. For diseased branches, cut 6 inches below the visible damage to ensure you remove the entire infected section. Evergreens don't have visible branch collars like deciduous trees, so focus on making clean cuts that don't leave stubs.
Remove any branches that are crossing or rubbing against others. These create wounds that invite pests and disease. I like to step back frequently to visualize the tree's shape—this helps me see which branches are disrupting the natural form. Never remove more than 25% of the tree's foliage in one season, or you risk stressing the plant.
✂️ Step 3: Thin Out Interior Growth
Evergreens often develop dense growth in their interior that blocks light and air circulation. Use your pruners to thin out these crowded areas, focusing on smaller branches first. Aim to remove branches that are growing toward the center of the tree, creating an open, airy structure. This prevents fungal diseases that thrive in dark, damp conditions.
Look for branches that are growing straight up—they're called "water sprouts" and should be removed entirely. These compete with the main structure for nutrients. I like to work from the inside out, gradually opening up the tree's canopy. The goal is to maintain the tree's natural shape while improving light penetration to the lower branches.
☀️ Step 4: Shape the Outer Canopy
Now focus on the tree's outer shape. Evergreens respond well to gradual shaping, so avoid drastic cuts. Remove only the outer tips of branches that are growing in directions you don't want. For example, if a branch is growing too low or too far outward, trim just the tip to redirect its growth pattern.
Use your hand as a guide—hold it alongside the branch to visualize where the cut should be. The cut should be just above a bud or growth point that's facing outward. This encourages the branch to grow in a direction that maintains the tree's natural form. Step back every few minutes to check your progress—you'll see the tree's shape come together more clearly.
⏰ Step 5: Clean Up and Monitor Recovery
After pruning, clean up all debris and dispose of it properly. Don't leave cut branches on the ground beneath the tree—they can harbor pests and diseases. Sterilize your tools again with rubbing alcohol before storing them. Water the base of the tree deeply to help it recover from the stress of pruning.
Monitor the tree over the next few weeks for signs of stress, like yellowing needles or wilting branches. If you see any problems, they're usually a sign of over-pruning. Evergreens are resilient, but they need time to recover. I recommend pruning evergreens in late winter or early spring when the tree is actively growing but before new growth begins—this gives it the best chance to recover quickly.
Tips & tricks for pruning evergreen trees
Pruning evergreens might seem intimidating, but these simple tricks will help you achieve professional results without risking damage.
Tool Prep is Everything: Before you start, sharpen your pruning saw and bypass pruners—dull blades tear wood instead of making clean cuts. I learned this the hard way after ruining three cuts with a dull saw! Also, sterilize your tools with rubbing alcohol between cuts on different trees to prevent spreading disease. This simple step can mean the difference between a healthy tree and one that struggles for years.
Use the 6-Inch Rule for Diseased Branches: When removing diseased branches in Step 2, cutting 6 inches below the visible damage is critical. Evergreens don't have visible branch collars like deciduous trees, so this extra length ensures you remove all infected tissue. I always double-check by looking for any remaining signs of disease—if in doubt, cut a little deeper.
Visualize the Tree's Natural Shape: Step back frequently during Steps 3 and 4 to visualize the tree's natural form. Hold your hand alongside branches to guide where cuts should be made—this helps maintain the tree's natural silhouette. I find it helpful to imagine the tree as a sculpture: each cut should enhance its natural beauty, not disrupt it.
Season Matters More Than You Think: The instructions recommend late winter or early spring, but timing is everything. Pruning in late summer or early fall can stress the tree, especially in hot climates. If you must prune outside this window, do so on a cool, overcast day to reduce water loss through the fresh cuts.
Pro Tips for Prune Evergreen Trees
- Pruning evergreens might seem intimidating, but these simple tricks will help you achieve professional results without risking damage.
- Tool Prep is Everything: Before you start, sharpen your pruning saw and bypass pruners—dull blades tear wood instead of making clean cuts.
- Use the 6-Inch Rule for Diseased Branches: When removing diseased branches in Step 2, cutting 6 inches below the visible damage is critical.
Frequently asked questions
Got questions about pruning evergreen trees? You’re not alone! Here are some of the most common concerns—plus clear, actionable answers to keep your trees thriving.
When is the best time to prune evergreen trees?
The ideal time depends on your goal. For general shaping, late winter or early spring (before new growth starts) is best. If you’re removing dead or diseased branches, prune anytime. Avoid heavy pruning in late summer or fall, as it can stress the tree before winter.
Can I prune evergreen trees in winter?
Yes, but with caution! Winter pruning is safe for dormant trees (no leaves), but avoid extreme cold snaps. Focus on removing deadwood or shaping lightly. Evergreens like pine or spruce may bleed sap if pruned too aggressively in winter—opt for milder cuts.
What if I accidentally over-prune my evergreen?
Don’t panic! Over-pruning can weaken the tree, but it’s not always irreversible. Reduce stress by watering deeply and avoiding fertilizers. For severe cases, focus on light maintenance next season. If >30% of foliage is gone, consult an arborist to assess damage.
Do I need special tools for evergreen pruning?
Basic tools work, but evergreens often have tough branches. Use bypass pruners for small branches, loppers for thicker stems, and a pruning saw for large limbs. Sterilize tools between cuts (rubbing alcohol) to prevent disease spread.
How much can I trim without harming the tree?
Aim to remove no more than 25% of the tree’s foliage in a single session. Heavy pruning (e.g., >30%) can stunt growth or invite pests. For shaping, prioritize open centers and airflow—never cut into the trunk or main branches unless necessary.
What if my evergreen looks “stressed” after pruning?
Stress signs include yellowing needles, slow regrowth, or wilting. Boost recovery by watering at the base, avoiding fertilizers for 3–4 weeks, and shielding from harsh sun. If needles drop excessively, you may have pruned too late in the season.
Wrapping up and next steps
Pruning evergreen trees is your secret weapon for keeping them healthy, beautiful, and thriving year-round! 🌿 By following the right techniques—whether shaping, thinning, or rejuvenating—you’ll encourage strong growth, prevent pests, and maintain that lush, manicured look.
Remember, timing and tools matter, so take your time and work with confidence.
Now that you’re armed with the know-how, grab those pruners and get started! Your evergreens will thank you with vibrant foliage and a stunning appearance for seasons to come. Happy pruning! 🌟