Planting
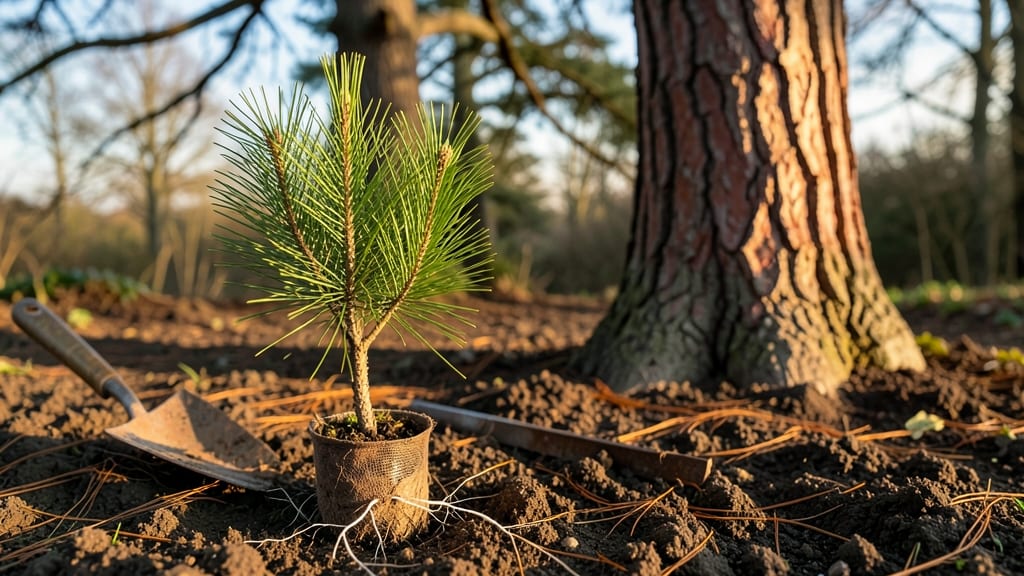
Planting pine trees the right way means roots that grip like a mountain anchor and a tree that thrives for decades—not just survives. I’ve learned the hard way that rushing the process leads to weak trunks and stunted growth, but doing it right transforms your yard into a timeless landscape.
The secret starts with soil that drains like a well-worn hiking trail and a spot where the wind can’t bully the young sapling into submission.
You’ll need basic tools—a shovel, gloves, and maybe a wheelbarrow for heavy soil—but the real magic happens in the preparation. Digging a hole twice as wide as the root ball and loosening the surrounding soil mimics nature’s way of settling roots.
For container-grown pines, tease the edges of the root ball just enough to encourage outward growth, then set it in the hole like a ship ready to sail into its new home.
Watering isn’t just a one-time splash—it’s the foundation of lifelong growth. After planting, give the soil a deep drink to eliminate air pockets, then mulch with 3-4 inches of organic material to lock in moisture and block weeds.
In the first year, keep the soil consistently damp (not soggy) and watch as the pine’s needles stay vibrant and its roots stretch deep into the earth.
This method works for white pines, ponderosa, or even dwarf varieties, whether you’re planting in full sun or partial shade. The key is patience: a well-planted pine will reward you with shade, wildlife habitat, and a centerpiece that outlasts every other plant in your yard.
Let’s get those roots growing strong.
📚 In This Guide
- What you need
- Instructions
- Tips and common mistakes
- Wrapping up and next steps
What you need
- ● Pine tree seedlings or saplings: 1–3 healthy container-grown or bare-root pine seedlings (species-specific, e.g., Pinus taeda for loblolly or Pinus strobus for white pine).
- ● Seedlings: 1–2 feet tall (ideal for faster establishment).
- ● Seeds: Only if starting from scratch (germination rates are low—expect 10–30% success!).
- ● Shovel or trowel: A round-point shovel (for digging holes) or a hand trowel (for smaller saplings).
- ● Garden gloves: Heavy-duty to protect against thorns and rough bark.
- ● Well-draining soil: Mix native soil with 50% organic matter (e.g., compost, pine bark fines, or peat moss). Pines hate soggy roots!
- ● Mulch: 2–4 inches of pine straw, wood chips, or pine bark (avoid cedar—it’s toxic to pines!).
- ● Watering can or hose with a gentle nozzle: Pines need deep but infrequent watering—no overhead sprinklers!
- ○ Tree stakes (optional but recommended): 2–3 1-inch diameter stakes (4–6 feet tall) + soft tree ties (for windy areas).
- ● Soil pH test kit: Pines prefer acidic soil (pH 4.5–6.0). Adjust with sulfur or peat moss if needed.
- ● Root stimulator: A mycorrhizal fungus powder (e.g., Mycorrhizal Applications) to boost root growth.
- ● Fertilizer (low-nitrogen): Use a balanced 10-10-10 or slow-release pine-specific fertilizer (avoid high-nitrogen—it burns roots!).
- ● Weed barrier fabric: Lay down landscape fabric under mulch to suppress weeds (leave a 6-inch gap around the trunk).
- ● Pruning shears: For trimming damaged branches post-planting.
- ● Tree guard or wire cage: Protects young saplings from deer, rabbits, or rodents (especially in the first year).
Step-by-Step guide for planting pine trees
Here’s my go-to method for planting pine trees that thrive for decades.
Choose the Right Location and Prepare the Soil
Pine trees need full sun—at least 6 hours daily—and well-draining soil. Avoid low spots where water pools, as soggy roots invite rot. I always test drainage by digging a 12-inch hole, filling it with water, and checking how fast it drains. If it takes longer than 30 minutes, amend the soil with sand or grit to improve drainage.
Pines prefer slightly acidic soil (pH 5.0–6.5). If your soil is heavy clay, mix in 2–3 inches of compost or pine bark fines to loosen it. Avoid fresh mulch near the base—it can smother roots and retain too much moisture. Instead, create a 3-inch mulch ring around the drip line (not the trunk) once established.
Dig the Hole and Plant at the Correct Depth
Dig a hole twice as wide as the root ball but no deeper—planting too deep suffocates roots and causes stress. If your pine comes in a container, gently loosen the edges of the root ball with your fingers to encourage outward growth. Place the tree in the hole so the top of the root ball sits level with the surrounding soil—never bury the trunk or root flare.
Backfill with the native soil you removed, tamping lightly every 2 inches to eliminate air pockets. Water deeply to settle the soil around roots. You’ll know it’s right when water drains through the hole within 10–15 minutes. Avoid compacting too hard—pines need loose soil to breathe.
Water Thoroughly and Protect Newly Planted Trees
Give the tree a deep watering immediately after planting—10–15 gallons for a 5-gallon container size, scaling up for larger trees. Water slowly at the base to avoid runoff. After that, water once a week for the first month, then every 10–14 days unless rainfall provides 1 inch of moisture. Overwatering is the fastest way to kill a pine—always check soil 2 inches deep before watering.
Stake only if necessary—most young pines don’t need support unless winds exceed 20 mph. If staking, use two stakes on opposite sides and tie loosely with soft fabric strips (never wire, which can girdle the trunk). Remove stakes after 1–2 years to encourage natural strength. Wrap the trunk with tree guard (not plastic) to deter rodents and sunscald.
Mulch and Monitor for Early Signs of Stress
Wait 4–6 weeks before mulching—new roots need time to establish without competition. Once you add mulch, keep it 3 inches deep and 6 inches away from the trunk. Organic mulch like pine straw or wood chips helps retain moisture while preventing weeds. Check the mulch after 6 months—it should break down but still cover the soil.
Watch for needle browning or yellowing in the first year—this often signals overwatering or poor drainage. If you see sap oozing from the trunk, it’s likely sunscald, which happens when winter sun hits exposed bark. Protect young trees with burlap wraps in cold climates. Pines are tough once established, but the first year is critical—patience and consistency pay off.
Tips & tricks for planting pine trees
These simple yet game-changing tips will help you avoid the most common mistakes and set your pine trees up for decades of healthy growth.
The Drainage Test: That 30-minute drainage check in Step 1 is non-negotiable. I've seen too many pines fail because people skipped this step. If water pools after 30 minutes, you absolutely need to amend the soil with sand or grit—don't just plant and hope for the best. The roots need oxygen as much as water, and poor drainage will strangle them before they even get started.
Root Ball Handling: When loosening containerized roots in Step 2, be gentle but thorough. I like to use my fingers to tease apart the roots at the edges of the root ball—this encourages them to spread outward instead of circling, which can happen when roots grow tightly bound in containers. Think of it as giving your tree a root massage to wake up those dormant roots.
Watering Wisdom: The 10-15 minute drainage test after backfilling isn't just about checking—it's about learning your soil. If water drains through in 5 minutes, your soil is too loose. If it takes 20 minutes, you need more sand. This simple test tells you exactly how your soil will behave during droughts and heavy rains, which is critical for long-term survival. I always do this test twice: once before planting and again after backfilling.
Mulching Timing: That 4-6 week wait before mulching in Step 4 might seem long, but it's crucial. New roots need to establish without competing with mulch for moisture. I've seen people mulch immediately and then wonder why their trees struggle—those roots can't compete with the mulch for water and nutrients. Think of it like giving your baby tree a chance to settle in before you add the furniture.
Pro Tips for Plant Pine Trees
- These simple yet game-changing tips will help you avoid the most common mistakes and set your pine trees up for decades of healthy growth.
- The Drainage Test: That 30-minute drainage check in Step 1 is non-negotiable.
- Root Ball Handling: When loosening containerized roots in Step 2, be gentle but thorough.
Frequently asked questions
Got questions about planting pine trees? You’re not alone! Here are answers to the most common concerns—from timing to troubleshooting—to help you grow a thriving pine with confidence.
When is the best time to plant pine trees?
Fall (September–November) is ideal for planting pines because cooler temps reduce stress, and roots establish before winter. Spring (March–April) is the second-best option. Avoid planting in extreme heat or drought—pines hate soggy roots too!
How much water do pine trees need after planting?
Water deeply once a week for the first month (1–2 inches total), then taper to every 2–3 weeks. Overwatering is worse than underwatering—pines prefer dry soil once established. Mulch (2–3 inches) helps retain moisture without suffocating roots.
Can I plant pine trees from seeds, or should I buy saplings?
Saplings (1–3 years old) grow faster and mimic mature pines’ shapes, while seeds take 5–10 years to mature. If you’re patient, sow seeds in well-drained soil and keep them moist. For quick results, opt for nursery-grown pines—they’re easier to transplant and resist pests better.
Why are my pine needles turning brown? Is my tree dying?
Brown needles usually mean drought stress, sunburn, or pests (like spider mites). Check soil moisture first—pines hate “wet feet.” If the problem’s widespread, inspect for bugs (spray with horticultural oil if needed) or relocate to partial shade. Tip: Older needles naturally brown and drop—focus on new growth!
How close can I plant pines to my house or fence?
Keep pines at least 20–30 feet from structures to avoid root conflicts and future removal headaches. Dwarf varieties (like ‘Mugo’) can tolerate 10–15 feet, but mature pines spread widely. Always check local guidelines—some areas restrict large trees near septic systems or foundations.
Do pine trees need winter care?
Most pines are cold-hardy, but young trees benefit from a thin layer of mulch (3–4 inches) to insulate roots. Avoid heavy snow buildup on branches—gently brush it off to prevent breakage. Evergreens lose moisture in winter, so water lightly if the ground stays frozen for weeks.
Wrapping up and next steps
Planting pine trees is a rewarding journey that brings long-term beauty and ecological benefits to your landscape. By choosing the right species, preparing the soil, and following proper planting techniques, you’ll set the stage for healthy, thriving trees that stand the test of time.
Remember, patience and care are key—your pine trees will thank you with lush foliage and resilience for decades to come!
Ready to get started? Grab your gloves, pick a sunny spot, and take that first step toward a greener future! 🌲✨