Landscaping
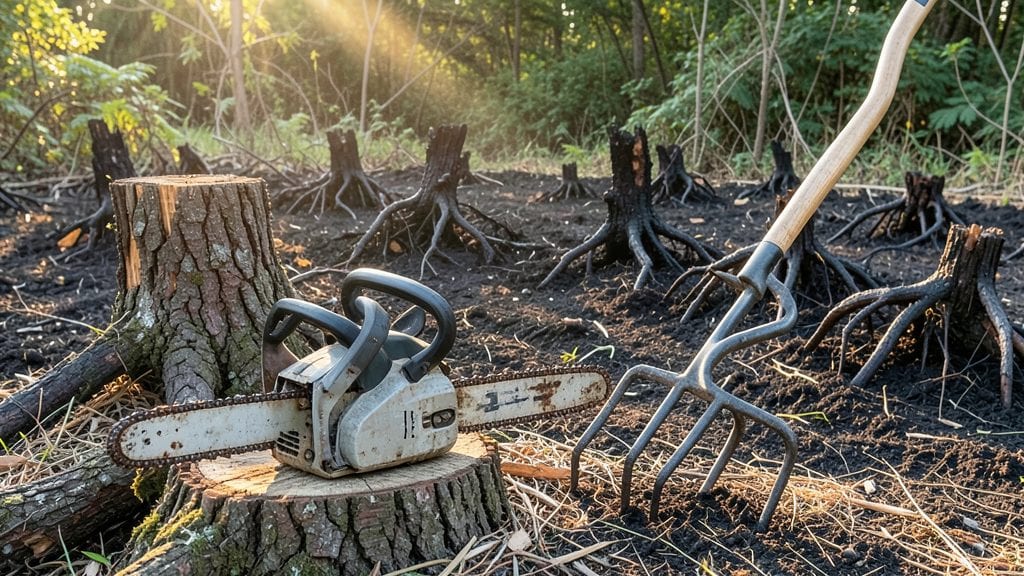
Clearing land of small trees and brush transforms a tangled mess into a blank canvas for your next project. 🌱 I’ve tackled this job more times than I can count—each time learning how to do it faster, safer, and with less backbreaking work.
The key isn’t brute force but strategy: cutting at the right time, removing roots efficiently, and choosing tools that make the job feel manageable.
You’ll need basic tools like a chainsaw, pruners, and a stump grinder (or a shovel if you’re going old-school), plus safety gear—gloves, goggles, and ear protection. The process breaks into three clear stages: cutting, stumping, and clearing debris, each designed to minimize regrowth and leave the land ready for planting.
Even uneven terrain won’t derail you if you plan ahead.
By the end, you’ll have a cleared space free of obstacles, with soil ready for new growth. The satisfaction of seeing that first shovel-ready patch is worth every drop of sweat.
Whether you’re prepping for a garden, pasture, or just tidying up, this method works—no matter the size of your project.
Here’s where it gets interesting: the tools you use can cut your effort in half. For example, a stump grinder saves hours of digging, and burning debris (safely!) reduces hauling. We’ll cover the best approaches for your specific needs—so you can skip the guesswork and get straight to results.
📚 In This Guide
- What you need
- Instructions
- Tips and common mistakes
- Wrapping up and next steps
What you need
- ● Chainsaw: At least a 14-inch or 16-inch bar (for small trees and thick brush). A gas-powered model is best for heavy work.
- ● Pruners/Loppers: Bypass pruners (for clean cuts) and loppers (24-inch handle) for thicker branches.
- ● Shovel: A heavy-duty flat-head shovel (for digging stumps or moving debris).
- ● Rake: A bow rake (4-5 teeth per square foot) for clearing leaves, twigs, and small debris.
- ● Wheelbarrow: A 2-3 cubic foot capacity for hauling debris to a compost pile or disposal site.
- ● Safety Gear: Chainsaw chaps (Class 1 or higher)
- ● Heavy-duty gloves (cut-resistant, like Mechanix or similar)
- ● Safety goggles (ANSI Z87.1 rated)
- ● Ear protection (earplugs or muffs, 25-30 dB NRR)
- ● Steel-toe or composite-toe boots
- ● Stump Grinder: If you plan to remove stumps entirely (rentals available).
- ● Brush Cutter: A string trimmer (weed whacker) with a heavy-duty brush blade for thick undergrowth.
- ● Fire Extinguisher: A 5 lb ABC-rated for safety during burning (if applicable).
- ● Tractor/ATV: With a front-mounted brush cutter for large areas.
- ● Marking Spray: To outline areas for clearing or hazardous zones.
- ● Check local regulations on burning debris or using herbicides.
- ● Confirm if you need a permit for clearing (some areas require it for large projects).
- ● Call 811 (USA) to check for underground utilities before digging.
- ● Plan for debris disposal—check local landfill or composting rules.
Step-by-step instructions for clearing land of small trees and brush
Here's my battle-tested approach to clearing land safely and efficiently—no heavy equipment needed.
🪴 Step 1: Assess and Mark the Work Area
Walk the entire area first and identify all vegetation: small trees, brush, and saplings. I use a garden flag or spray paint to mark each tree trunk and brush pile—this keeps me organized and prevents missed spots. Pay special attention to roots and stumps that might resprout later.
Measure the space if needed, but focus on clearing in manageable sections. I like to work in 20-foot by 20-foot grids—small enough to finish in a single session but large enough to make progress. Clear one section completely before moving to the next to avoid confusion.
✂️ Step 2: Cut and Remove Brush and Small Trees
Start with the smallest brush first—use loppers or a handsaw to cut branches at their base. For saplings under 2 inches thick, a pruning saw works best. I always cut branches into 3-4 foot sections for easier transport, stacking them in piles for later burning or chipping.
For small trees (2-6 inches thick), use a chainsaw or handsaw to cut the trunk at the base. Make a V-notch on the side facing the direction you want it to fall, then cut horizontally through the notch. Step back as it falls—never cut into the notch from the opposite side. Drag logs to your designated burn pile or wood chipper area.
🔥 Step 3: Clear Roots and Stumps
Dig out roots and stumps with a mattock or shovel, working in 2-inch deep sections around the base. For stubborn roots, I use a grub hoe to slice through them horizontally. Once the stump is loose, rock it back and forth to break it free. Smaller roots can be left in place if they're shallow, but deeper roots should be removed to prevent regrowth.
For stumps that won't budge, a stump grinder is ideal, but if you're doing this manually, dig a trench around the stump and pry it out with a crowbar. Wear gloves and safety glasses—roots can be sharp, and stumps are heavy. Once cleared, rake the area to remove debris and level the soil.
🌱 Step 4: Prepare the Cleared Land (Optional)
If you plan to plant or seed the area, till the soil to a depth of 4-6 inches using a broadfork or rototiller. This aerates the ground and helps break down remaining roots. For larger areas, rent a post-hole digger to speed up the process. I always test the soil pH after clearing—brush-heavy areas often leave acidic soil that needs lime to balance.
Spread a 2-inch layer of wood chips or mulch over the cleared space to suppress weeds and retain moisture. This step isn’t mandatory but saves time later. Water lightly if you’ve recently tilled—dry soil compacts easily and can smother new plantings.
Tips & tricks for clearing land efficiently
These battle-tested tricks will help you clear land faster and with less frustration—without sacrificing safety or quality.
Organize Your Work Area: Before you start cutting, gather all your tools and arrange them in a logical sequence: loppers for brush, saws for saplings, and digging tools for stumps. I keep my garden flags and spray paint near the starting point so I can mark vegetation as I go. This prevents backtracking and keeps you focused on one section at a time. Trust me on this—having everything within arm's reach saves hours of wasted movement.
Safety First with Tree Falling: When cutting small trees, always make your V-notch on the side facing the direction you want the tree to fall. I've seen too many close calls where people cut the wrong side and had trees fall unpredictably. Cut horizontally through the notch last, then step back immediately. For trees over 6 inches thick, consider using a chainsaw with a stabilizer bar for better control. Also, wear safety glasses—wood chips and bark fly when trees fall.
Root Removal Strategy: For stubborn roots, work in those 2-inch deep sections around the base as mentioned, but here's the secret: focus on the root collar first. This is where the root system connects to the stump. Once you've loosened this area with your mattock, the rest of the roots will come out much easier. For really tough roots, I use a grub hoe to slice through them horizontally—it's like cutting through butter once you've weakened the structure. Don't forget to wear gloves; roots can be surprisingly sharp and abrasive.
Equipment Upgrades: While you don't need heavy equipment, a few upgrades make the job significantly easier. A stump grinder rental (even for a day) can save you weeks of manual digging. For the digging process, a post-hole digger works wonders for getting those 2-inch deep trenches around stumps. And if you're dealing with a lot of brush, a brush chopper attachment for your ATV can turn hours of work into minutes. These tools pay for themselves quickly on larger projects.
Pro Tips for Clear Land Of Small Trees And Brush
- These battle-tested tricks will help you clear land faster and with less frustration—without sacrificing safety or quality.
- Organize Your Work Area: Before you start cutting, gather all your tools and arrange them in a logical sequence: loppers for brush, saws for saplings, and digging tools for stumps.
- Safety First with Tree Falling: When cutting small trees, always make your V-notch on the side facing the direction you want the tree to fall.
Frequently asked questions
Got questions about clearing land? You’re not alone! Here are some of the most common concerns—and quick answers—to help you tackle the job like a pro.
What’s the best time of year to clear small trees and brush?
The ideal window is late fall to early spring (November–March) when plants are dormant. This reduces regrowth and avoids disturbing wildlife during nesting seasons. If you must clear in summer, do it on cooler days to minimize stress on the land and yourself.
Do I need a permit to clear brush on my property?
It depends! Check local regulations—some areas require permits for burning, cutting near waterways, or clearing large tracts. Contact your county’s land management or environmental office to confirm rules. Ignoring permits can lead to fines, so always verify first!
Can I just burn the brush after clearing it?
Burning may seem easy, but it’s risky! Many areas ban open burning due to fire hazards. Instead, try chipping (turning brush into mulch), hauling to a landfill, or composting. If burning is allowed, follow local safety guidelines—like clearing a 10-foot buffer around the burn pile.
Is renting equipment cheaper than buying tools for one-time clearing?
For a one-time project, renting a chainsaw, brush hog, or skid-steer costs far less than buying. Compare prices at rental centers or check for discounts on multi-day rentals. Pro tip: Borrow from a neighbor or local hardware store for even better savings!
How do I prevent brush from regrowing after clearing?
Regrowth happens fast! Apply herbicide (like glyphosate) to stumps and cut brush, or smother the area with cardboard/mulch to block sunlight. For long-term control, consider planting ground cover or grazing livestock (if allowed).
What should I do if I accidentally damage roots or nearby plants?
Don’t panic! If roots are exposed, cover them with soil to prevent drying. For damaged plants, prune dead branches and water deeply. If you’ve hit underground utilities, call 811 (USA) before digging further—it’s free and protects you (and the pipes!).
Wrapping up and next steps
Clearing land of small trees and brush doesn’t have to be overwhelming—with the right tools, safety precautions, and a step-by-step approach, you can transform your space efficiently.
Whether you’re prepping for construction, gardening, or simply tidying up, breaking the task into manageable stages makes it achievable and even satisfying. 🌱
Now that you’re armed with knowledge, roll up your sleeves and start small! Tackle one section at a time, and soon, you’ll have a cleared, usable area ready for your next project. Happy clearing! 💪