
Pruning
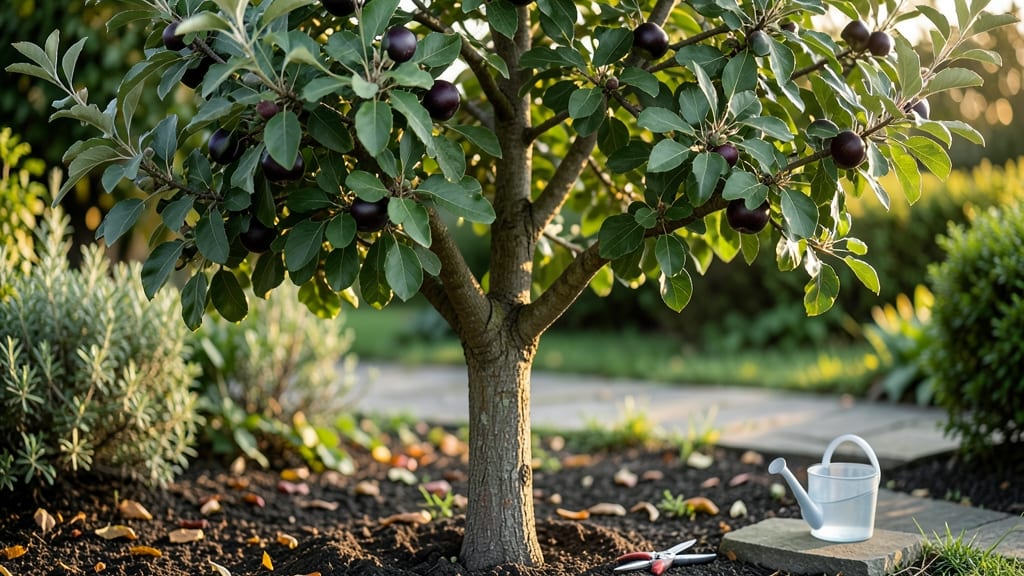
When your apple tree’s branches show black rot creeping between the bark and fruit, panic sets in—but pruning can turn the tide. 🌳 I’ve saved three trees from this stubborn fungal infection by cutting out infected wood at the right time and angle, and I’ll show you exactly how to do it without spreading the disease further.
The key is timing: prune during dormant season (late winter or early spring) when the fungus isn’t active, and sterilize your tools between cuts to prevent cross-contamination. You’ll need sharp pruners, rubbing alcohol, and a bucket for disposal—no fancy equipment, just precision.
A single misstep can leave your tree vulnerable, so we’ll focus on clean cuts and proper disposal of infected branches.
What you’ll achieve is a tree that recovers faster, produces healthier fruit next season, and resists reinfection. The blackened areas will fade, new growth will emerge vibrant and green, and you’ll reclaim the harvest you thought was lost.
This isn’t just about saving branches—it’s about restoring your tree’s strength for years to come.
Works for backyard orchards, urban homesteads, or even a single prized tree in your landscape. The same principles apply whether you’re dealing with black rot, apple scab, or sooty mold—just adjust the timing and tools. Let’s get those branches trimmed and your tree back on track.
📚 In This Guide
- What you need
- Instructions
- Tips and common mistakes
- Wrapping up and next steps
What you need
- ● Pruning shears: Sharp, bypass-style shears (for cuts up to ½ inch thick). Quantity: 1 pair.
- ● Loppers: Heavy-duty, bypass or anvil-type (for thicker branches, ½ to 1½ inches). Quantity: 1 pair.
- ● Pruning saw: Curved-tooth saw for branches over 1½ inches. Quantity: 1.
- ● Disinfectant: 70% isopropyl alcohol or bleach solution (1 part bleach to 9 parts water) to sterilize tools between cuts. Quantity: Small spray bottle or container.
- ● Gloves: Heavy-duty, cut-resistant to protect hands from thorns and debris. Quantity: 1 pair.
- ○ Pruning sealant: Tree wound paint (optional but recommended for larger cuts). Quantity: Small bottle.
- ● Safety gear: Safety glasses and long sleeves/pants to prevent scratches or debris injuries.
- ● Disposable bags: For collecting and disposing of infected branches. Quantity: 2-3 large bags.
- ● Ladder or step stool: Sturdy and tall enough to reach branches safely. Quantity: 1.
- ● Extension pole saw: For high branches without a ladder.
- ● Marking spray: Bright-colored spray paint to mark branches for removal.
- ● Garden hose: For rinsing tools and branches post-pruning.
- ● First-aid kit: Just in case of minor cuts or scrapes.
- ● Camera or phone: To document the tree’s condition before/after pruning.
Step-by-step pruning to stop apple tree black rot
Here's how to prune out infected branches and restore your tree's health—before the rot spreads.
✂️ Step 1: Identify and Mark Infected Branches
Black rot starts as small black spots on leaves that expand into large, tar-like patches. Look for branches with blackened bark, oozing cankers, or dead wood—these are your first targets. I grab a small flagging tape and wrap it around each infected branch to mark it for removal. Don't skip this step—you'll accidentally cut healthy wood if you prune blind.
Check the crotch areas where branches meet the trunk first. Rot often hides there, and removing infected wood from these spots prevents the disease from spreading into the tree's center. If you see black streaks under the bark, that's a sure sign of deep infection—prune back to 6 inches beyond the last visible sign of rot.
✂️ Step 2: Sterilize Tools and Prune Out Infected Wood
Before you make a single cut, sterilize your pruners with 70% rubbing alcohol or a 10% bleach solution. Black rot spores spread easily, and dirty tools will just reinfect your tree. I like to wipe down blades between cuts on infected branches—this keeps the disease from jumping to healthy wood.
Make your cuts at a 45-degree angle, just outside the branch collar (the swollen area where the branch meets the trunk). For large branches, cut in three steps: first 12-18 inches out from the trunk, then 4-6 inches beyond the infected area, and finally at the branch collar. This prevents tearing and leaves a clean wound for faster healing.
💧 Step 3: Clean Up Debris and Apply Fungicide
Remove all infected branches and leaves from the area—do not compost them. Black rot spores survive in organic matter, so bag the debris in a sealed plastic bag and throw it in the trash. I also rake up fallen leaves and twigs within a 10-foot radius of the tree to eliminate spores hiding in the soil.
After cleanup, spray the pruning wounds with a copper fungicide (like Bordeaux mixture) to kill any lingering spores. Focus on the crotch areas and any exposed wood. For extra protection, apply a wound dressing (like tree sealant) to large cuts—this helps the tree heal faster and keeps out moisture that fuels rot.
☀️ Step 4: Monitor and Maintain Tree Health
Keep an eye on the tree for new black spots on leaves or oozing cankers over the next few weeks. If you see fresh signs of rot, repeat the pruning process immediately—don't wait until next season. Healthy trees fight off disease better, so water deeply once a week during dry spells and fertilize with balanced 10-10-10 in early spring.
Thin the tree's canopy to improve airflow—this reduces humidity, which black rot thrives in. Aim for 6-8 hours of direct sunlight reaching the inner branches. If your tree is young, consider installing drip irrigation to keep foliage dry, as wet leaves create the perfect environment for spores to spread.
Tips & tricks for perfect apple tree black rot pruning
Here's what I've learned after dealing with black rot in my own orchard—these tricks will help you save your tree without spreading the disease further.
Timing is Everything: Prune during the dormant season (late fall or winter) when the tree isn't actively growing. This gives the wounds time to heal before spring, when black rot spores are most active. If you must prune during the growing season, do it on a dry, sunny day to help wounds dry out faster and prevent fungal growth. I always check the weather forecast first—wet conditions create the perfect environment for spores to spread.
The Pruning Angle Matters: When making your cuts in Step 2, visualize slicing off a small slice of pie at a 45-degree angle. This creates a sloped surface that sheds water better, reducing the chance of rot forming in the wound. For larger branches, take your time with those three-step cuts—I've seen people rush and tear the bark, which makes the tree more vulnerable to infection. A clean cut heals faster and looks better too.
Sterilization Can't Be Overstated: I can't emphasize enough how important it is to sterilize your tools between cuts. After using rubbing alcohol or bleach solution on your pruners, I like to run them under hot water to rinse off any residue before the next cut. This might seem like overkill, but I've seen black rot spread just from using unsterilized tools on healthy branches. Keep a small spray bottle of 70% rubbing alcohol handy for quick clean-ups between cuts.
Post-Pruning Care: After you've finished pruning and applying fungicide, give the tree a good drink of water. This helps the tree recover from the stress of pruning and jumpstarts the healing process. I also like to mulch around the base of the tree with 2-3 inches of organic mulch (like wood chips) to keep the soil moist and protect the roots. Just keep the mulch a few inches away from the trunk to prevent rot at the base.
Pro Tips for Apple Tree Black
- Here's what I've learned after dealing with black rot in my own orchard—these tricks will help you save your tree without spreading the disease further.
- Timing is Everything: Prune during the dormant season (late fall or winter) when the tree isn't actively growing.
- The Pruning Angle Matters: When making your cuts in Step 2, visualize slicing off a small slice of pie at a 45-degree angle.
Frequently asked questions
Got questions about apple tree black rot and how to handle it? You’re not alone—this fungal disease can be tricky, but pruning the right way makes all the difference. Here are some of the most common concerns, answered clearly so you can act fast and save your tree!
What does apple tree black rot look like, and how can I confirm it’s the issue?
Black rot appears as dark, circular lesions on leaves (with white or gray centers) and sunken, blackened spots on fruit. On branches, you might see cankers with cracked, oozing edges. To confirm, check for fruit mummies (dried, blackened apples) in the tree—these are a dead giveaway.
When is the best time to prune for black rot, and how soon after seeing symptoms?
Prune during late winter or early spring (before buds swell) to remove infected wood. If you spot black rot mid-season, prune immediately—but sterilize tools with 70% rubbing alcohol or bleach to avoid spreading spores. Never prune wet wood (it’s more contagious!).
How far back should I cut when pruning black rot-infected branches?
Cut 6–12 inches beyond the last visible sign of infection (cankers, lesions, or discoloration) into healthy, green wood. Use sharp, sterilized tools to make clean cuts at a 45-degree angle. Avoid leaving stubs—this helps prevent reinfection.
Can I save my apple tree if black rot is already spreading? What if it’s too late?
It’s not too late—aggressive pruning + fungicides (like copper-based sprays) can help. Remove all infected fruit and debris from the ground, and improve airflow with thinning branches. For severe cases, consult a local arborist. Prevention (like proper spacing and sanitation) is key next season!
Are there chemical or organic treatments to prevent black rot after pruning?
Yes! For chemical control, use fungicides with chlorothalonil or copper during bud swell and after harvest. Organic options include baking soda spray (1 tbsp baking soda + 1 gallon water + a drop of dish soap) or neem oil. Always follow label instructions and reapply after rain.
Wrapping up and next steps
Black rot may seem like a daunting challenge, but with the right knowledge and action, you can save your apple tree and even strengthen its future fruit production. 🌱 Start by pruning infected branches early, sterilizing tools, and monitoring for new signs of disease—your proactive efforts make all the difference!
Now’s the perfect time to plan your next steps: schedule regular inspections, invest in preventive fungicides, and consider soil health boosters like compost. Your tree—and future harvests—will thank you!